


 Posts
Posts


HI! I have a fun card to show you today. I found the idea at Denas blog and I made a tutorial showing you how to do the same even tough you don´t have small stamps (or round stamps). I choose to have three different stamps at my card. To see them look in the end of the post.
To do this card you need:
- Paper
- 3 stamps
- Brads
- Dies (Circle)
- Ribbon
- Sticky Tape

First we need three circles. I have used a XL QuickKutz die, and I have used the biggest circle. Your circle has to be smaller than your base on the card. My base was 6x6 inches and my circle a little bit smaller. The first circle I have cut out three of the main holes (it´s the same in the card). On the second one I have cut out three more, just one size smaller than the main hole. This is the one we are stamping inside, so it´s just a template. You can use just normal printing-paper for this one. The last one it the one that is the same as my colouring paper. This is the one I am colouring my stamps on.

Now I just use sticky-tape to attach the one with the smallest circles and the one with my colouring paper on. Just to it on the sides.

Ready to stamp. Find your stamps and your ink.

Remember to cover to two holes with paper. I just used the circles that was cut out.

When we are stamping we are always stamping in towards the middle. (This is at least if you want the opening on your card to be the same place mine is).

Here you can see all of my stamps stamped in to my paper. Remember to cover the one you have done before you move on to the second stamp. They sometimes overlap. Before I removed my template I took my Copic-pen (0.3) and drew a line in the circles like they would look like little stamps with outlines. Then when you remove the template you will be able to see the outline.

Here you can see. Now you should double check that everything is right in your card.

To prepare the base I have a 6x6 inch in craft-paper. I take another circle in the biggest size just to do some measurements. IMPORTANT: A little piece on one side has to stick out for the person to be able to spinn the spinner. Now, place the template we made in the first step on top of the new circle to measure where the hole should be. Draw inside and remove the template. Than place you little circle-die on top and run it trough the machine.

Here you can see mye card base prepared and my spinner. Now it´s just to do the colouring.

All the stamps finished and all coloured in. You can see that I have made a mark in the middle. Place the circle on the top of your base again (you will still have your pencil marks), and place a needle trough the hole so that the middle is the same on your base and on your spinner.

Decorate your card and use a little brad to attach your spinner to the base.

IMPORTANT: The little brad can not get anything on top of it. So if you do like I did, just glue the flower on one side, but lat it cover two sided. Than decorate and finish up our card.


As you can see I also ended up lifting Denas card. It was just so elegant and pretty. Thank you Dena.


Here you can see the spinner from the inside. Hope you managed to stay trough this tutorial.
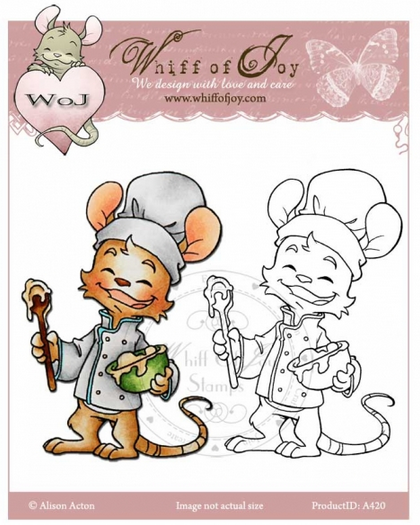
Here is the stamps I have used: Racer Henry, Fireman Henry & Chef Henry.
Here is the stamps I have used: Racer Henry, Fireman Henry & Chef Henry.


Hugs from Henrikke


