


Hello dear readers. It's so nice to see you here :-)
Today I (Ingrid) want to show you a creative way to give someone a bottle of wine. You do need a sewing machine but don't need much sewing experience for this project, it's very easy!

First take measurements on your bottle and add a few cm extra. I took 28 cm.

Also take measurement of two times the height including the bottom, mine was about 67 cm.

There will be no seam on the bottom but a seam on both sides of the bottle. So I need a piece of fabric that is 67 cm high and 16 cm (28 divided by 2, plus a cm seam on both sides) wide. I used linen fabric.
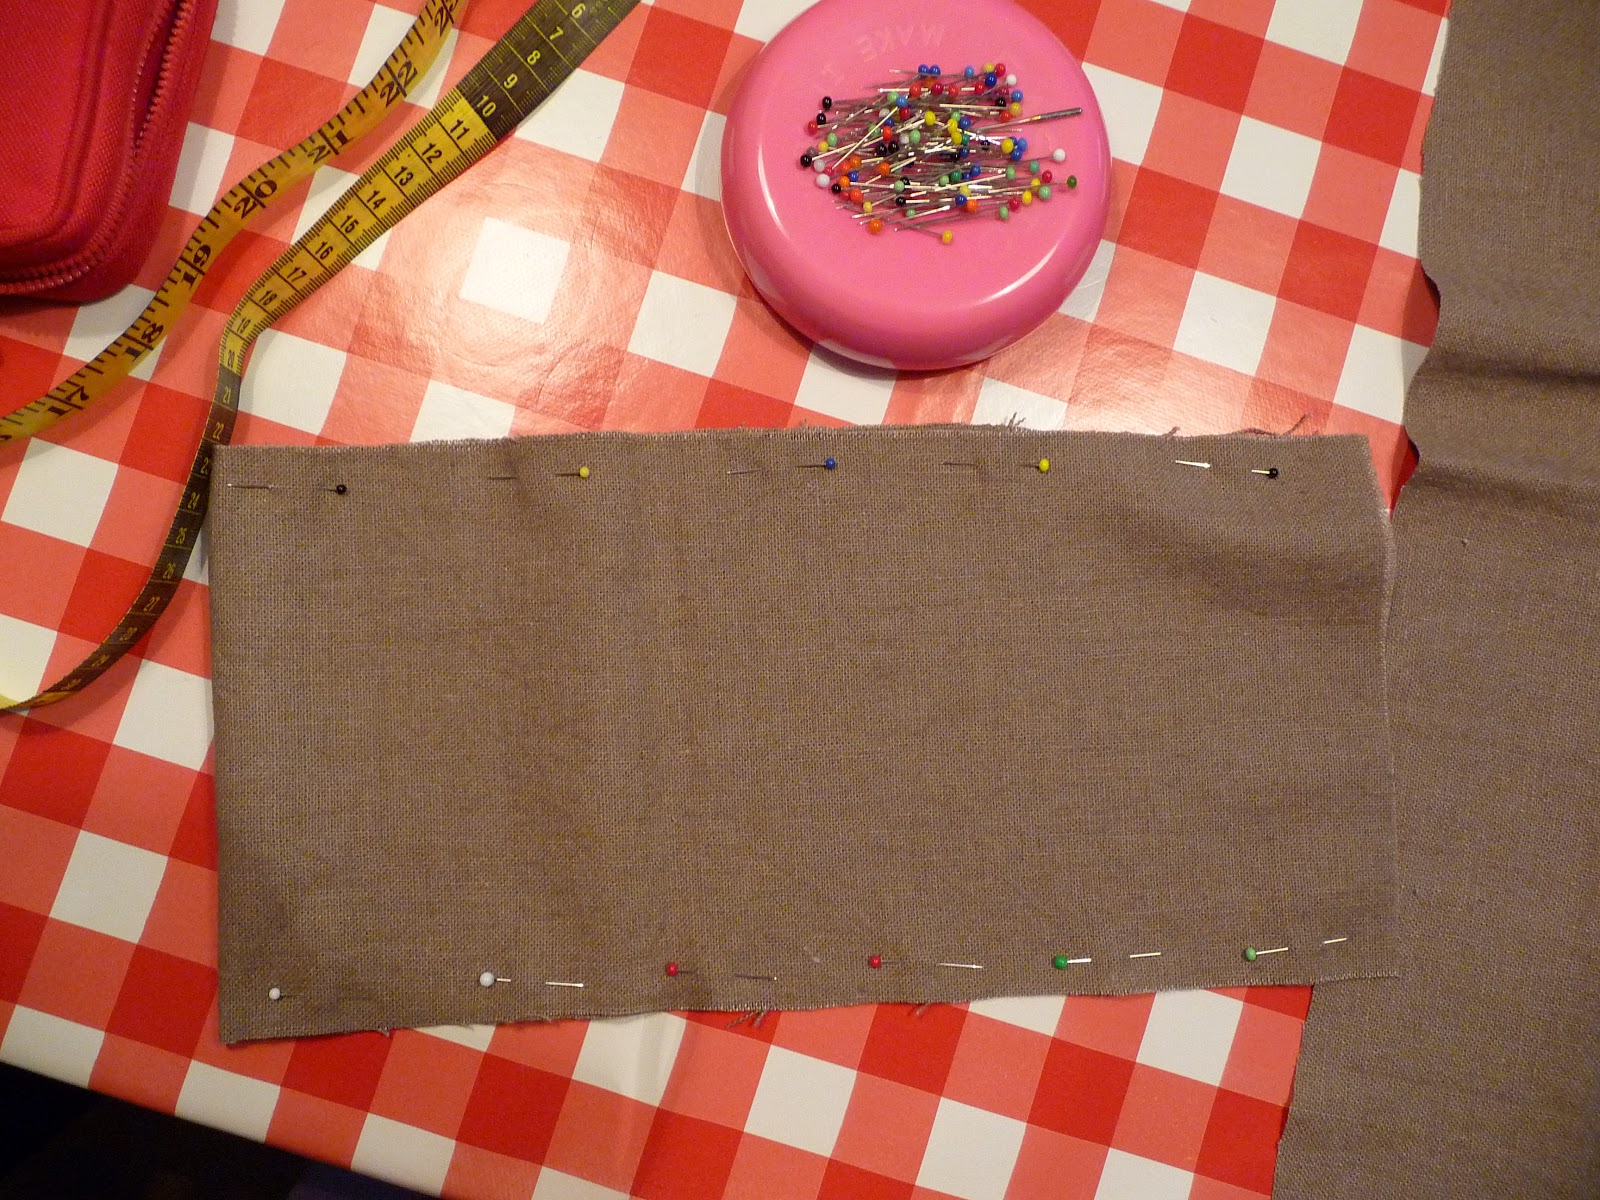
Pin it with the short sides together and the good side of your fabric on the outside.

Don't use a small stitch length (I used 4 mm), 'cause you want to give it a rough appearance.

When you sewed both sides of the bag, fold open the seams and press them with your fingers/ nails. To give the bag a bottom you fold a little triangle of the bottom and side of the bag and pin that.

Sew about 3 cm (measured from the point).

Cut off the extra fabric with a seam of 1 cm and then you have a bag. It's that simple! Do not turn the bag inside out before you put your wine bottle in it, I think it's great to show the seams on the outside. After filling the bag you can fold back the top.

Now we can start creating a tag to attach to the bag. Inspired by Katharina, who is very experienced in using background stamps to create her own "dessinpaper", I also wanted to give it a try. I stamped a tag with the background stamp "Friendship".

After that I attached a piece of paper from an old book and my colored image. Then I stamped dots with white ink and put clear embossing powder on it. Next time I'll use white embossing powder to let it pop out some more.

Here you can see the finished tag. I used a stamp from the Fall Stamp Kit, which is also available as digi stamp from now.

Some Prima flowers and blue Petaloo Vine Spray.

The lovely round sentiment stamp from Whiff of Joy fits perfectly to this project! I also attached a wine glass charm which I bought this weekend on a craft show.

And here is a detail picture of the image. I colored it with Copic Sketch Markers. Here are the colors I used:
Henry: E47, 44, 43, 42, 41, 13, R21, 20
blue: B99, 95, 93
barrel: E29, 27, 25, 23, 21, W7, 5, 3
wine bottle: YG99, 97, 95, R59, B99, E41
Thanks a lot for visiting us today and I hope to see you again soon, here or on my own blog. Have a nice day!

Used materials:


Wat een leuke tutorial Ingrid...heel duidelijk...ga hem beslist een keer maken!
ReplyDeletexxx Margreet
So great, fantastic idea and with the stunning image a perfect gift.
ReplyDeleteHugs
Stefanie
Wonderful
ReplyDeleteWaaaaaaaaaaw this is such a great tutorial. thank you for sharing. your work is really gorgeous. hugs! mojca
ReplyDeleteSuper great idea, thanks for sharing.
ReplyDeletehugs Dorte
Normally the all packaging industries will use Aluminium Can Or Cap because these Cylinder type cans are 100 percent recyclable. formation of aluminum neck will be done by Aluminum Bottle Necking Machines..
ReplyDelete