Good morning to you all.
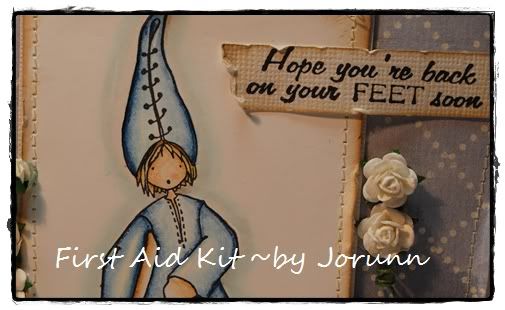
Today is my turn to show a little tutorial, and I have made a First Aid kit.
Today is my turn to show a little tutorial, and I have made a First Aid kit.
And Whiff of Joy's Get well images are just perfect for this kit.
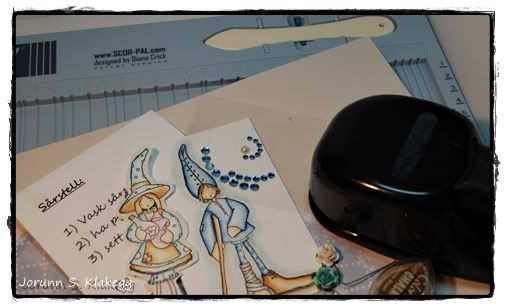
I have used two of Norma Fickle's adorable images:
Colored in by Copic Sketch Markers.
You need:
*Card stock 29 cm x 29 cm
*Pattern papers
*Images
* word window punch or something similar
*Circle punch
*Embellishments of your own taste
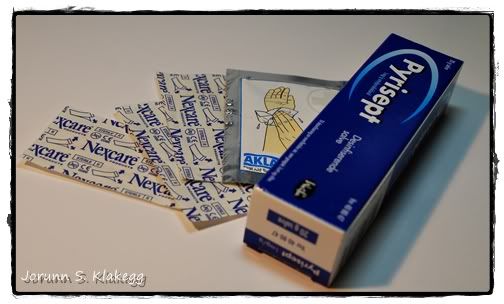
You also need something for the First Aid kit;
I have used band aid, cleaner pad and cleansing ointment.
Lets get started;
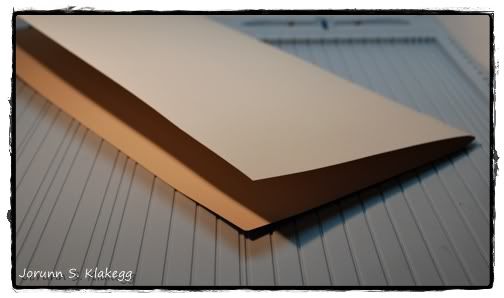
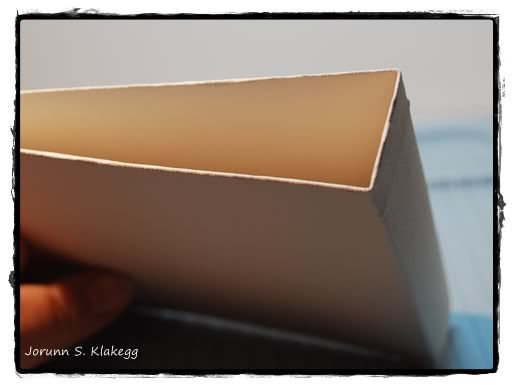
First take your card stock and just fold it in two and glue it together...
This will make the card stock thicker as a base for the kit,
and we also the the structure of the card stock showing both inside and outside.
The card stock are now 29 cm x 14,5 cm.
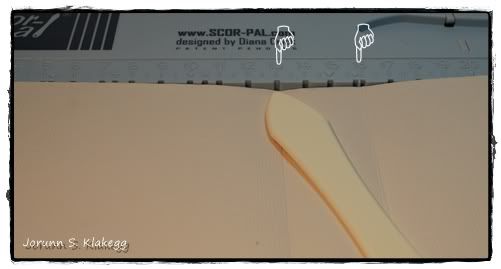
Score at 13 cm and at 16 cm.
Now the card stock easily fold like a little book..
The next step is decorating;
I have used patterned papers in the size 12,5 x 14 cm, and I have used 3 of the same.
1 in the front and two in the inside.
Decorate the papers in the front and the one inside, make them all finished
and then glue them to the card stock base.
here is my start:
The third inside, and where the first aid equipment goes;
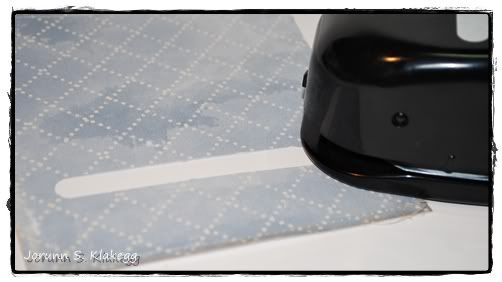
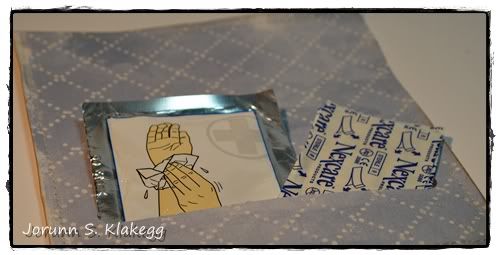
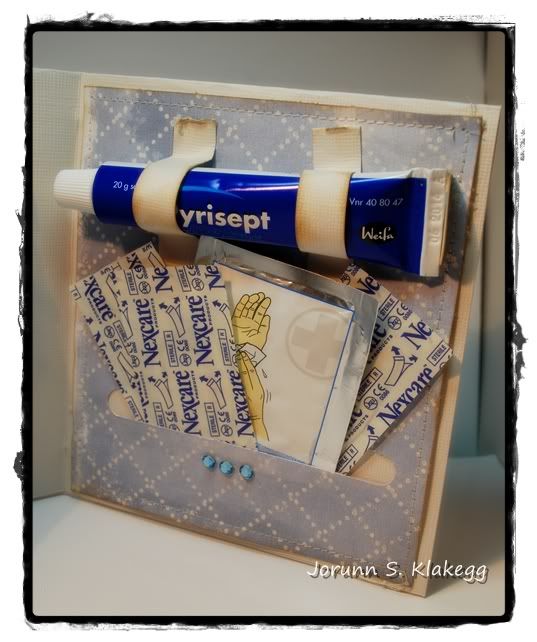
Start with making a pocket for the ban aid and cleaning pad.
I have used my window word punch, but you can use f.ex a knife or spellbinder shapes.
I made a pocket almost all the way across the patterned paper:
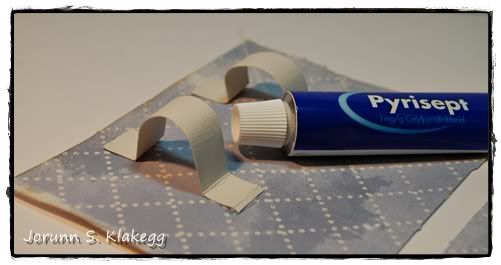
To hold the ointment in place I have used some of the scrap from the card stock, to make two loops:
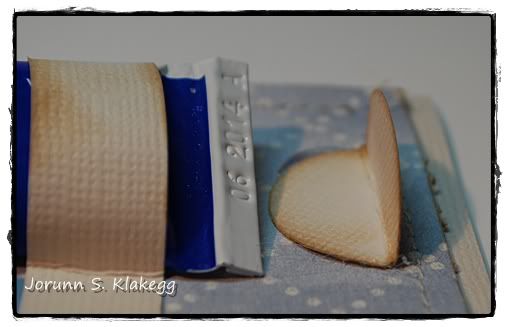
Behind the ointment I have used my circle punch and folded in two, and glued it on the patterned paper. This is so the ointment will not slide out of the loop.
Make sure the half of the circle that is not glued to the paper, will bend backwards,
so the ointment will get out when needed. ;o)
Glue the this patterned paper on the card stock too, but remember;
Do not glue all the way up to the pocket... or there will be no pocket!
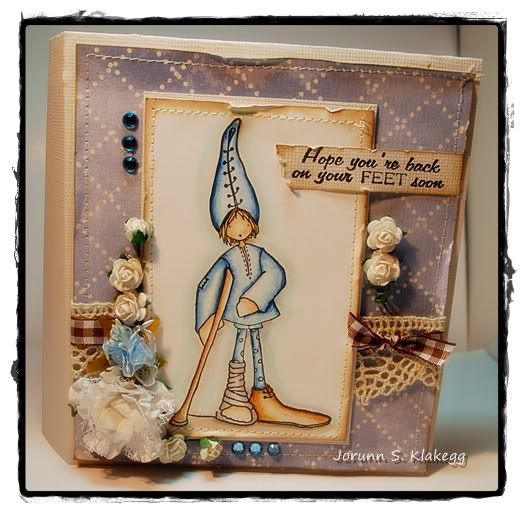
And the First Aid Kit is ready.
The front;
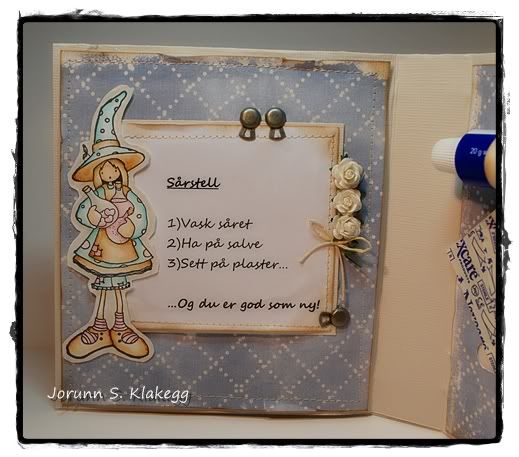
The inside:
I have written a little manual on how to clean a wound.
And with "a Wee bit of magic".. you are as good as new... :o)
My children are addicted to band aids, and so are most children at young age...
so I will make this as gift sets to my children's friends and class mates for their birthdays.
I hope you liked my tutorial.
If you make a First Aid kit too,
please leave a link to your kit here,
and you will be in the drawing of one of Whiff of Joy's "Get Well Images".
***






Wow, this is just a fantastic project. Anesha
ReplyDeleteWhat a beautiful idea and useful ...
ReplyDeletevery very nice ... really!!!
What a fantastic idea!!!
ReplyDeleteThank you!!! It's so cute!!!
Utrolig kult; flott gave, Jorunn, og like flott tutorial !
ReplyDeleteHallo,
ReplyDeleteBeautiful, great !
Françoise (Belgium)
Such an cute project and those images are so sweet.
ReplyDeleteWhat a FAB tut, well done you! It is so novel, I love it!
ReplyDeleteKeryn x
Wow, this is a fantastic idea!!!
ReplyDeletewhat a terrific idea, Jorunn and your creation looks absolutely fantastic
ReplyDeleteWhat a great idea!
ReplyDeleteThanks for this tutorial!
What a great idea! I love it!
ReplyDeletewow what a great tutorial, and what a fab idea x
ReplyDeleteWauw...., Gorgeous Jorunn!!!
ReplyDeleteThanks so verry much for this tutorial
just love it:-)
Hugs
Sonja
oooh what a nice idea!!!
ReplyDeletelove it
hugs andrea
How very clever! I love it!
ReplyDeleteWhat a great idea, and love your coloring...it's so cute!!
ReplyDeleteAn amazing good idea;) Beautiful!
ReplyDeleteLove your tutorial! I'v made one myself too! I really enjoyed making it today! You can find it here!
ReplyDeleteHope you like it!
Leonie ~♥~
You saying that young children like band aids reminds me of when my daughter was 3years old. She was very quiet and I went into her bedroom to see what she was doing and found her covered in band aids, on her hands, feet, legs, arms and clothes. When I asked why she had done this she said that she had a sore finger. I could not be angrey because it made me laugh so much.
ReplyDeletewspaniałe prace
ReplyDelete