


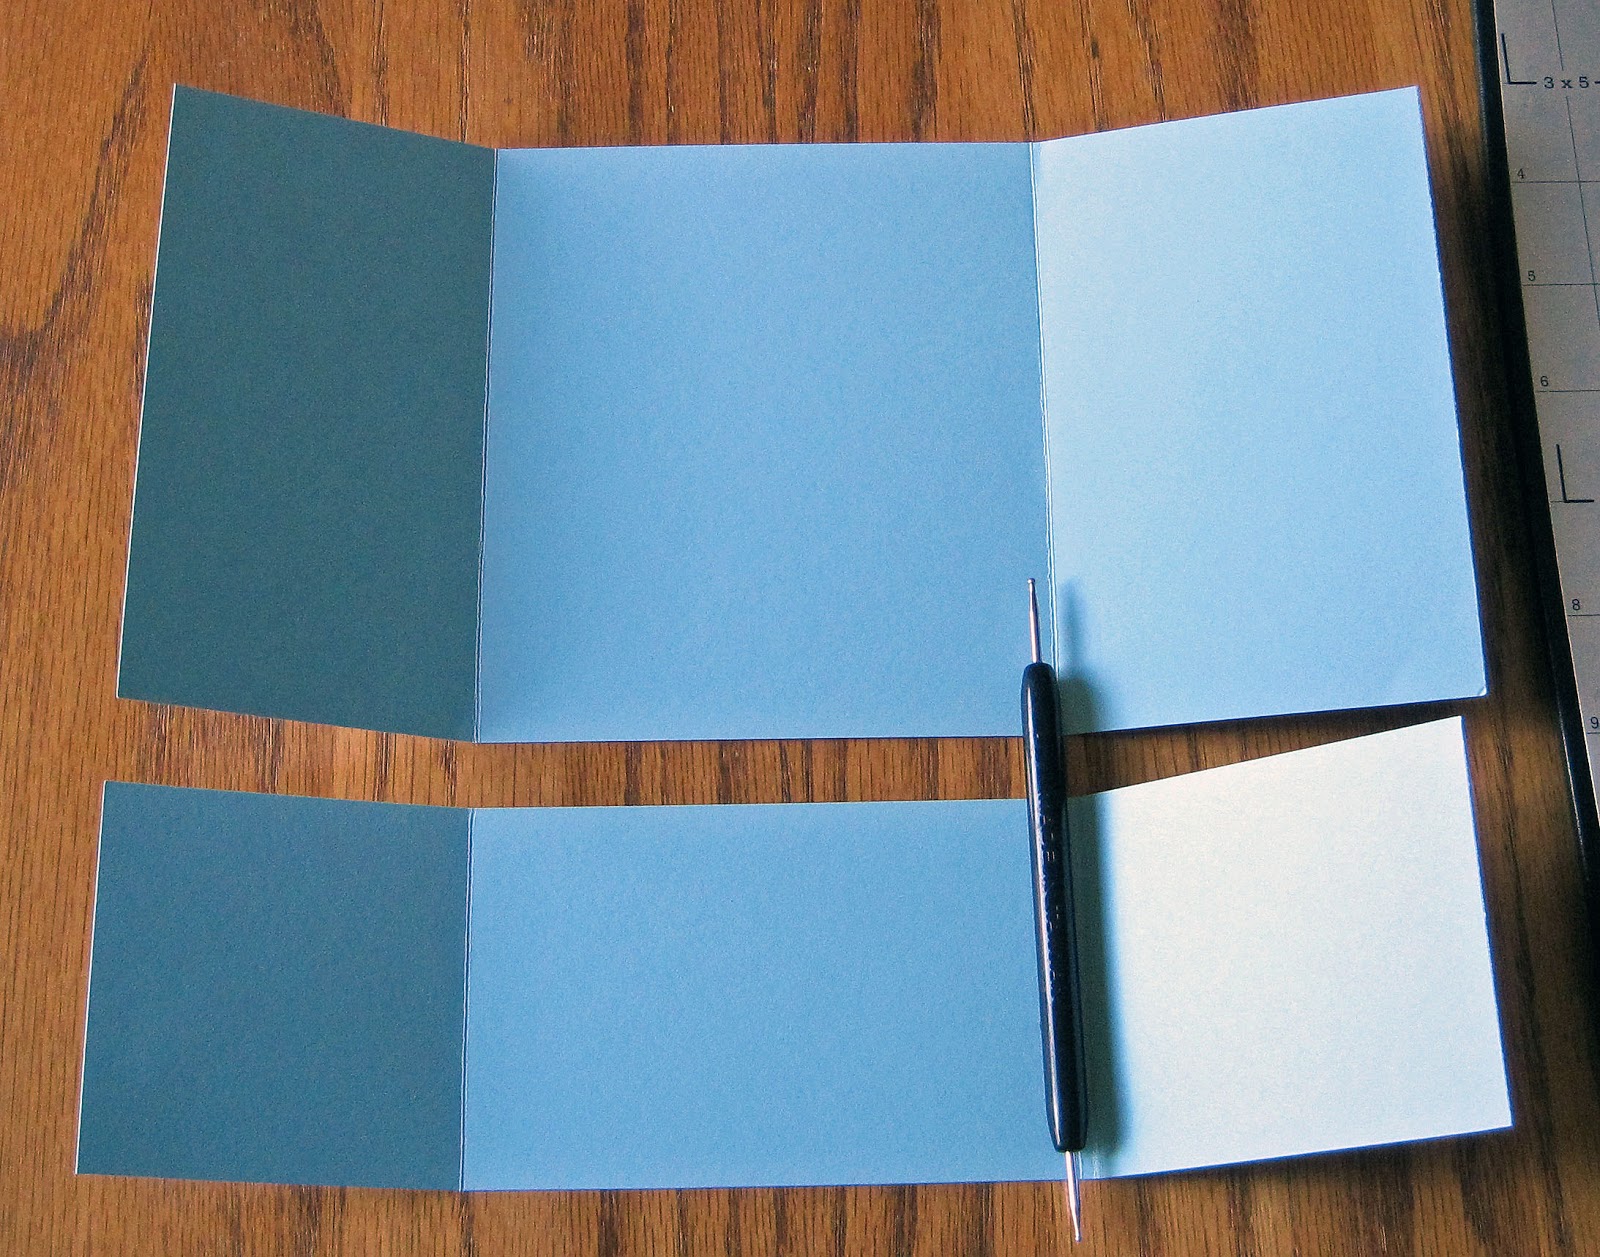
You will need a few things for this tutorial. 1- 8 1/2 x11 sheet solid cardstock, designer paper at least 6x6 in size, scoring tool, dies, stamp, embelishments and adhesive.
Turn your main piece of cardstock over as we will decorate the back. I have layered another solid color and then a designer piece on top. If you choose to stamp your cardstock then this is where you would do this as well. You will want to keep in mind that anything sticking up such as pearls or jewels will grab when you are pulling the belly band piece down, so limiting that to flat embelishments is strongly suggested.

This is what it will look like when you adhere your designer pieces of paper. Now set aside the base and we will work with the band portion seen below. I have taken the band portion and cut 1 inch off the length to make it a little thinner. You can keep it as wide as we had it cut or trim it down, just personal preference for the image you are using. A decorate design is added here and I choose the beautiful heart lace border for mine.

Then we add designer paper or stamped images if you would like. Mine has a solid base again and some designer paper. Don't worry about the seem when you over lap the papers as you will not see this when the bell band is closed.


Now that you have your belly band closed you will add a panel that you will slip on and off. I have used a Spellbinders shape for my panel along with some Twiner pieces that I punched out. They will be hidden under my panel so I am not too worried how they are adhered to the base panel.

Now I add my stamped panel over the belly band panel and decorate as I wish. Here is the final result. You have so many options on how to decorate its really fun. See the twinery sticks out the sides and I added some rolled roses to the sides and my sentiment tag. My sentiment is from General Stayings II.
When you take the belly band off this is what it will look like. On the inside I have added more of the designer paper to my message piece to complete my creation.


Coucou!
ReplyDeleteElle est superbe cette carte.
Merci pour le tutorial, je pense que je pourrais le refaire aisément.
Bonne journée
A beautiful card. thank you for sharing with us. hugs! Mojca
ReplyDeleteIt's so beautiful! I like it so much! : )
ReplyDeleteEine Klasse Karte und lieben Dank für die tolle bildliche Anleitung
ReplyDeleteLG Irene