


Hello Everyone! Jane here today with a tutorial to show you how to make a quick and easy mini Halloween treat box.

To make the box, you will need:

Halloween patterned papers
Score board
Hole punch
Whiff of Joy Twine or ribbon
Scrap of black card
Black embossing powder
Scrap of white card
Stick on gems
Distress, embossing and black ink
How to make the box:

1. Cut a piece of patterned paper to measure 6x6inches.
Score every two inches

2. Turn paper and score again every 2 inches so you end up
with a cross shape. Fold and burnish folds

3. Cut the squares at each corner out so you are left with a cross shape.
Measure half way accross the top of each protuding square and draw a triangle shape as shown

4. Repeat on each side

5. Punch a hole near top of each triangle

6. Stamp the sentiment, cut into a banner shape, ink edges and set with an eyelet.

7. Stamp and heat emboss the bat shape
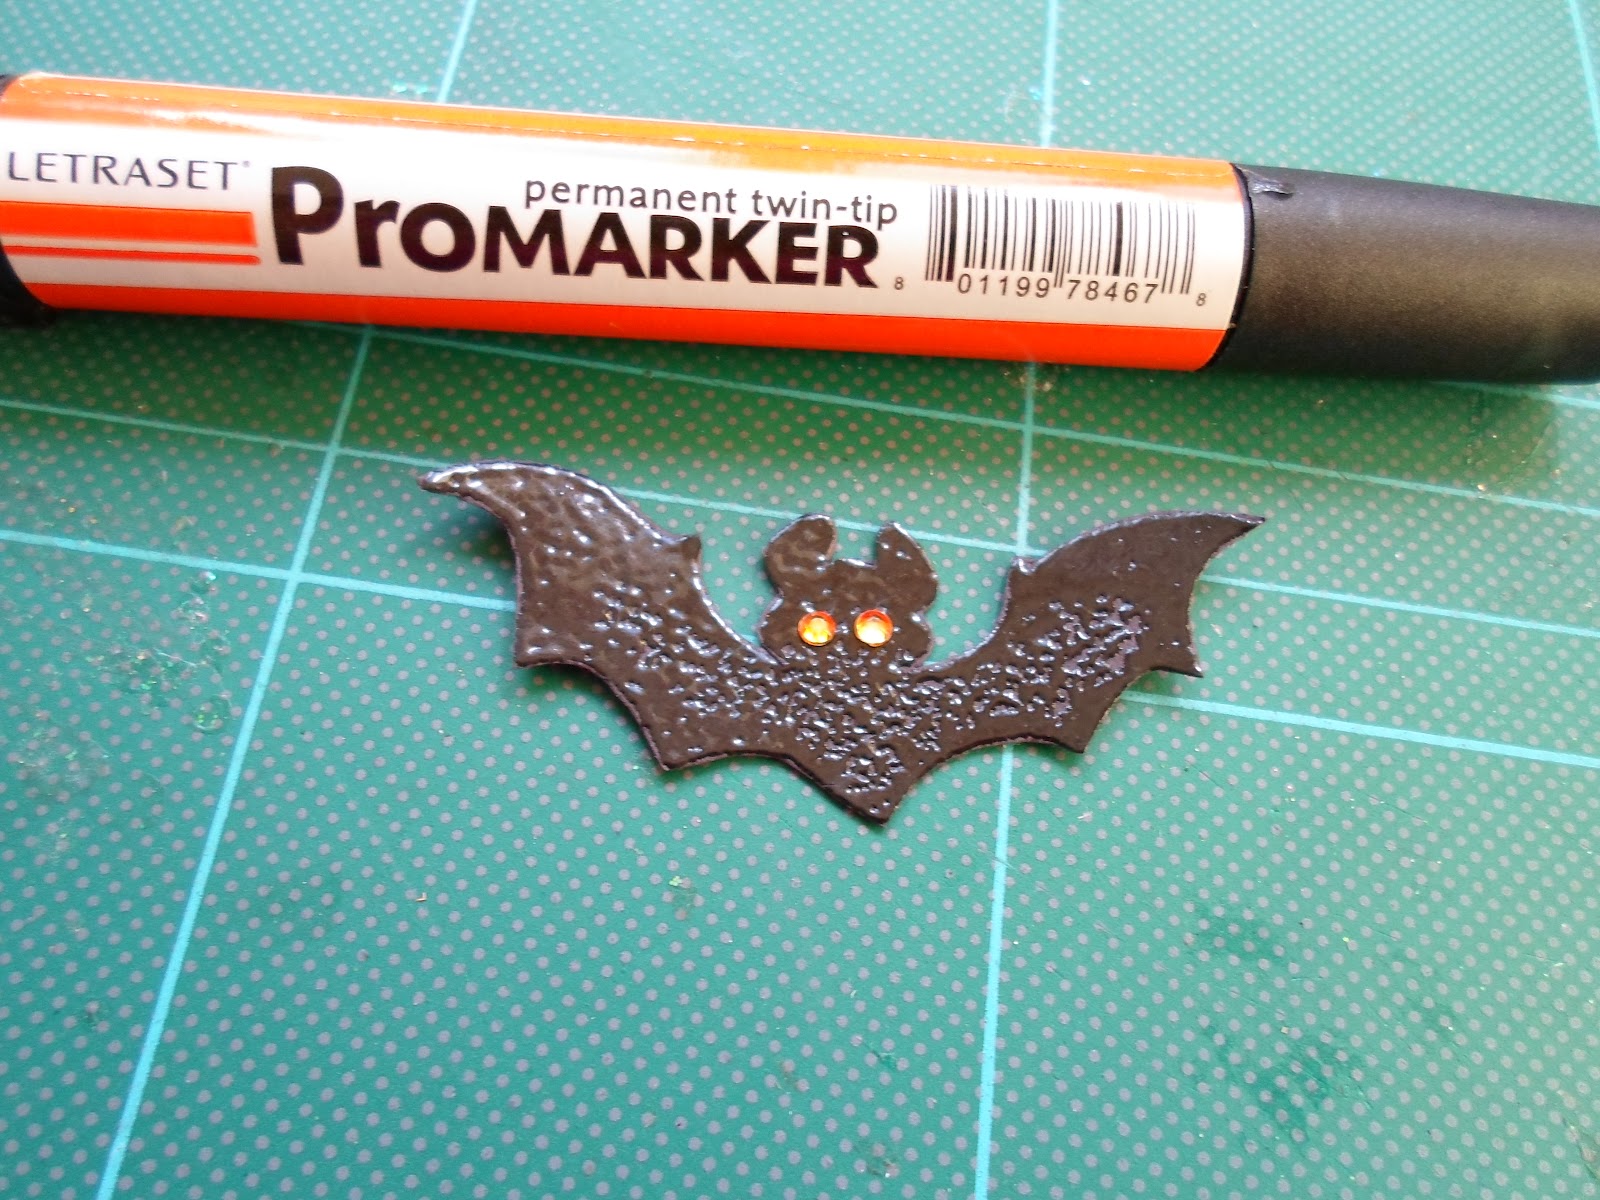
8. Cut out the bat shape and add gems for eyes.
I coloured some clear gems with an alcohol marker to make them orange.

9. Thread twine through the holes and add some treats.
Pull the twine up and tie to create the pyramid shape.
10. Tie the tag onto the box

11. Add the bat to the back of the box and you are finished!
These make great treat boxes for kids parties or fun wedding favours if made in different colours and tied with beautiful vintage style lace. I hope you give these a try!
Jane
x


Waw such a great tutorial and a really great little box. Thank you for sharing Jane. Hugs! Mojca
ReplyDeleteLove it Jane. Great tutorial!!
ReplyDeleteKatharina x
LOve it!
ReplyDeleteI cannot wait to have a go at it, and I love the papers used.
Debbiex
WOW - A great idea!!! I love it!!! hugs, ANDREA
ReplyDeleteGreat idea :D
ReplyDeletegrtjs
Judith