
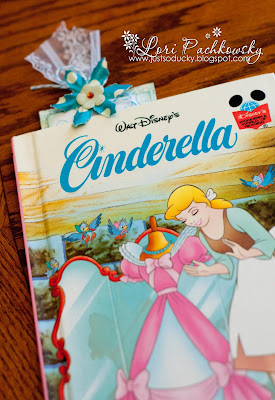
Hi Lori here with a quick little tutorial on making a bookmark. My daughter has been asking for weeks for her own special bookmark and I finally got around to making one. She adores it!
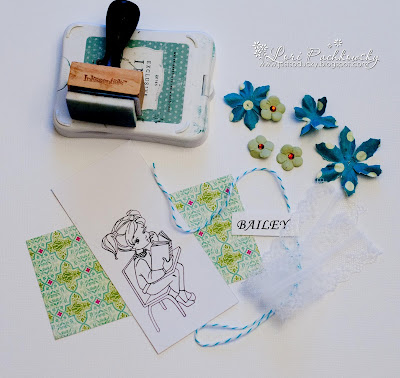 Supplies: Piece of cardstock (2.5 inches wide by 5.25 inches tall), piece of designer paper or cardsock (2.75 inches wide by 5.5 inches tall), Stamp pad for sponged edges, embellishments, ribbon, lace, stamped image.
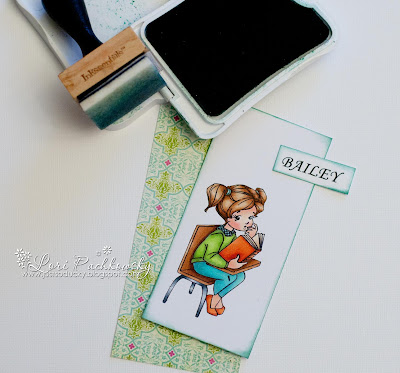 Stamp your image on the base and colour. I have used Hitting the books from Whiff of Joy. I also printed out my daughter's name. Sponge all around the edges of the cardstock.


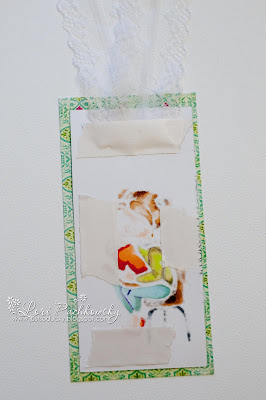
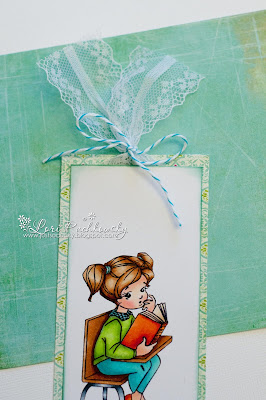



ADORABLE !!
ReplyDeleteThanks for sharing Lori:)
Sonja x
lovely!!!
ReplyDeletehugs from Brazil
Rosana
Pretty!!!!!
ReplyDeletemerci pour ce tuto tres sympa !!
ReplyDelete