


Hi Everyone, my name is Karen, and I would like to share with you today how to make a cute Handbag Gift Card Holder - so much jazzier than just the ordinary envelope they normally come in!!
Ok so down to business, this tutorial is quite long, as there is lots of little tips and heaps of pictures to get it just right!! Obviously you can change it, depending on what size you would like to end up with!!
Here is a picture of most of the things you will need to complete your little bag:

Here is the list of things you will require:
- Double Sided Patterned Paper
- Silver Card Stock or co-ordinating card stock with your Paper
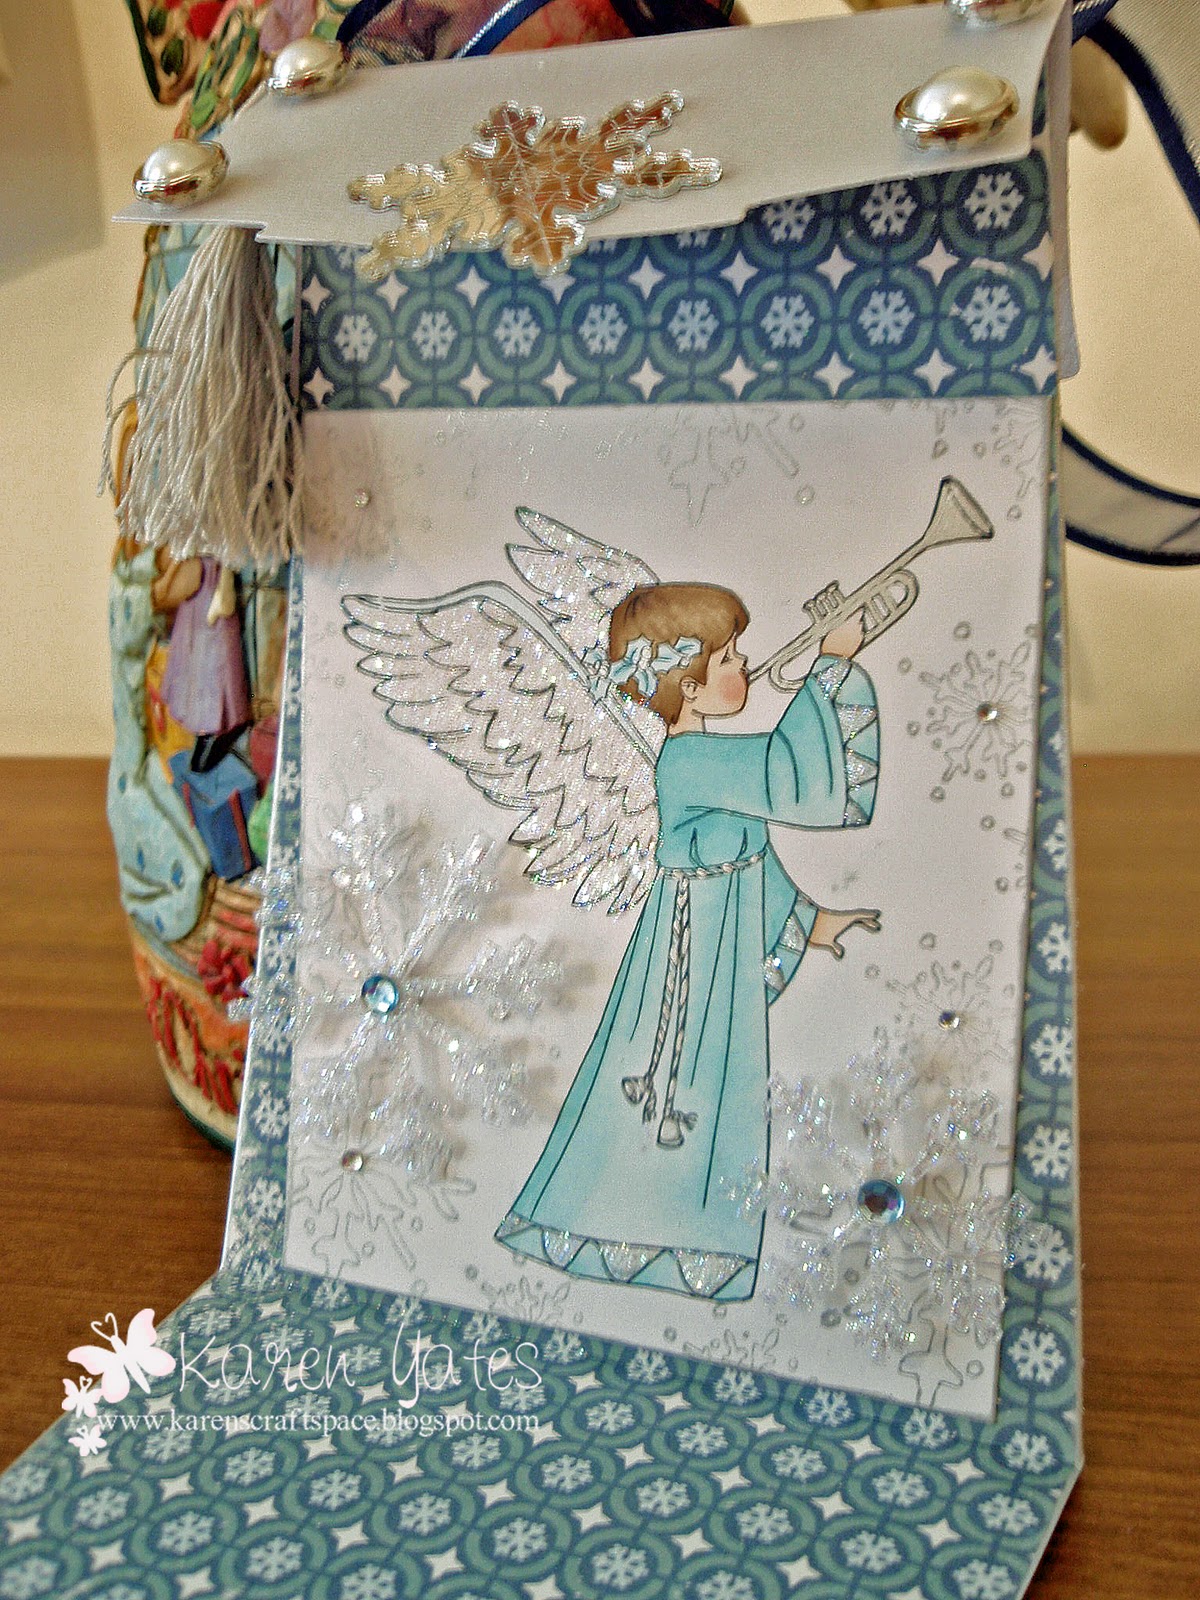
- Whiff of Joy Coloured Image - I've used Angel and Trumpet - Christmas 2010
- Paper Trimmer
- Scoreboard (if you have one)
- Bone Folder
- Ruler
- Pencil
- Hole Punch/crocodile punch thingy or an Eyelet punch - which is what I use
- Spellbinders Nestablilities - I've used Labels 2 - using the largest Die
- Embellishments: Silver Tassel, Ribbon, Assorted Bling and Pearls & Something to make the Clasp - like a button or a flower, I've used a Mirror Snowflake
- Velcro Dot
- Double Sided Sticky Tape
- and Normal Sticky Tape
1. First thing we need to do is, cut out your Label in the silver card, and then fold it in half.
2. Next we need to cut two holes for the ribbon handle to go through, so on one side of your label place two holes either side, as shown in the pic below:

3. Next we need to place the ribbon through the holes. So first place your tassel on the ribbon then pop the ribbon through the holes and then tape down with just some normal sticky tape, as shown below: now pop that bit a side as we will need it later.

4. Next, we need to cut a 4 1/2" x 12" piece of paper from our Double Sided Patterned Paper. Once you have cut it out, you need to score at 6" and then the next step is to fold it in half, so now is measures 4 1/2" x 6

Now comes the slightly tricky bit, you need to grab your ruler and measure... eeck I know I hate measuring, but for this to work properly - we need to!! hahah..
5. Measure 1/2" in from each side along the top. Your fold is at the bottom. see the pic below:

6. Place your folded paper into your trimmer and cut diagonally. So you will be cutting from your pencil mark down to the point on the bottom (which is the folded bit) and then do the same on the other side see the picture below:

Now our folded paper looks hopefully like this?? it should measure approx. 3 1/2" along the top and still 4 1/2" along the bottom fold!!

7. Ok now what we need to do, is grab our label or our Handbag flap and place a bunch of Double Sided Sticky tape to the inside - where the ribbon is, see the pic below:

8. We now peel off our tape and stick our flap onto the top of our bag - like the picture below:

9. We can now add our Coloured Image, this will form the pocket for the Gift Card to go. So when your placing your tape you need to make sure you leave a bit open for the card to slide down into. See my picture below:

10. Now pop it in place, and you can finish decorating the inside!!!

11. And now for the very last bit, the Velcro dot!! I like to stick my dot on one side first then I close the flap. That way you will ensure that the Velcro matches up, every time with no problems!!

Congratulations - now your finished, time to admire your handy work!! Here is a picture of mine finished with the Handbag closed up..

and here it is all pretty and open so you can see!!
So There you go, I hope you have enjoyed my first Whiff of Joy Tutorial, and I hope I have inspired you all to give it a go. Its a lot of fun and actually rather easy once you get into it!!
Hugs, Karen
xxxx


Wahou very beautiful.
ReplyDeleteQuel joli petit sac tout doux. Bisous
The handbag gift card holder is beautiful and your directions are so easy to follow!! Thanks for sharing!
ReplyDeletevery pretty handbag, nice easy to follow instructions too always a bonus
ReplyDeleteIt is very easy ... I love the idea
ReplyDeleteIs very cute
wow this is very beautiful sweetie
ReplyDeletethank you for the tutorial
i want to wish you'll a merry christmas and a happy and creative new year
hugs angelique
i wish to use it for my own Gift Card envelopes.
ReplyDelete