


Paper bags can be used to a lot of things, some have their lunch in it, some buys candy in it,
Inge made a wonderful gift bag using one, remember??
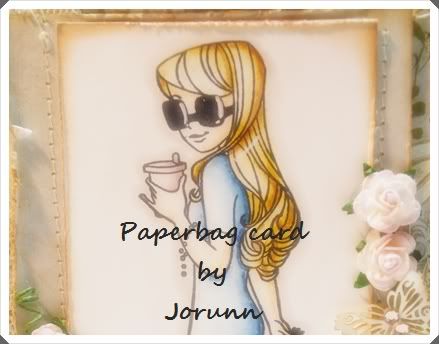
And I have made a card using a paper bag!
Inge made a wonderful gift bag using one, remember??
And I have made a card using a paper bag!
And I would like to show you how to....

* A paper bag
*Stamped image
*Some card stock
* Pattern papers
*Embellishments
*Glue
Now let's get started...
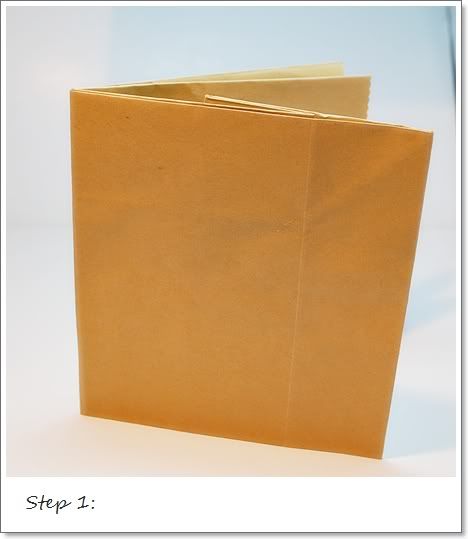
Fold the paper bag in two, and you have the card base ready.
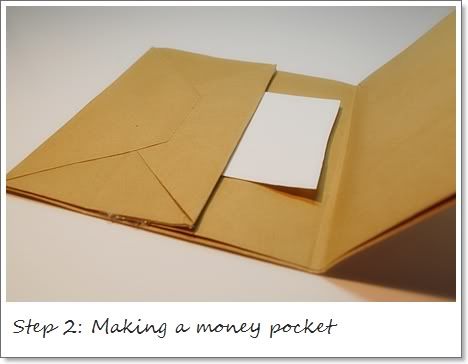
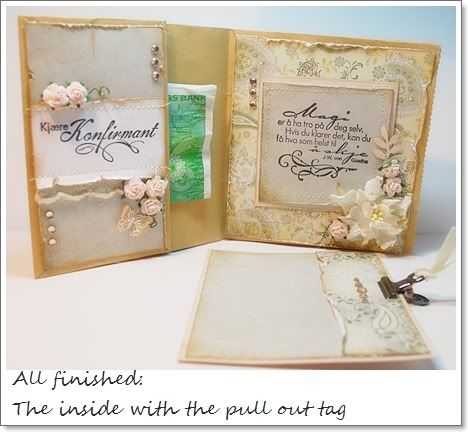
Glue the flip on the bottom of the folded paper bag, on top and bottom.
The flap now makes a perfect money pocket.

Now we are ready to start decorating the
paper bag card base...
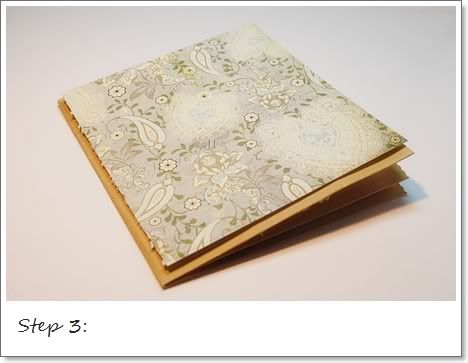
Cut pattern papers to fit the front of the paper bag.
Decorate the pattern papers all done, with the stamped images and all the embellishments, before you glue it on the paper bag front.

Now we are ready to decorate the inside of the paper bag card.
Cut pattern papers to fit the money pocket flip,
and you also need pattern papers on the other side of the open paper bag card.
Again, decorate them all done, before you glue them on the paper bag.
On the side of the paper bag card there is an opening...
you know; where you would put something in the bag, if you used it as a bag... :o)
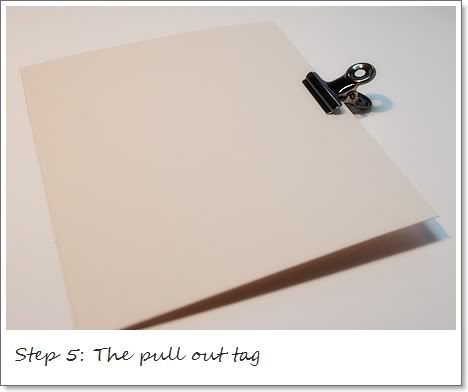
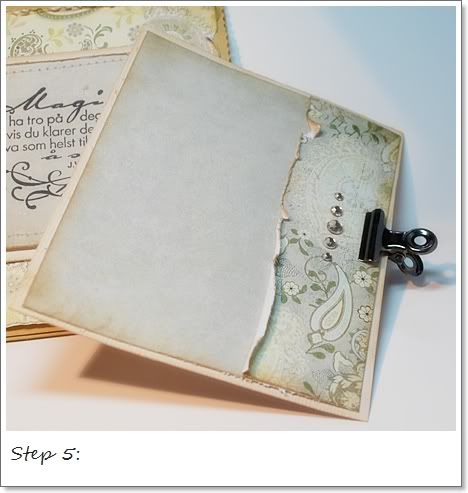
That opening is perfect to put a pull out tag in,
and I always write my personal greetings on this tag.
and I always write my personal greetings on this tag.
Measure the size of the opening, both wide and depth,
and make a tag that fits into the opening.
I have used bazzil card stock to make my tag.
Decorate the tag, with some of the left over pattern papers.
I have also used a Tim Holtz clip and put a ribbon through it, so it makes it easy to pull out.
And now the paper bag card is finished....
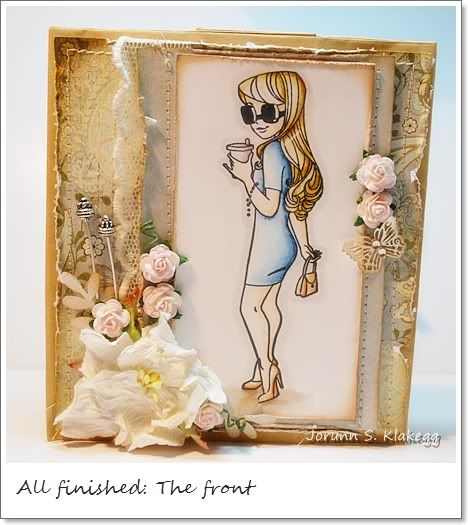
The fabulous image is Willow with coffee to go, from The City Girl 2 Collection,
colored in with Copic Sketch Markers.

I hope you liked my tutorial, and that you want to try making a paper bag yourself...
it is a lot of fun to make and a lot of fun to give away too!
Have a great day!


I just looooove it! Certainly gonna use it.
ReplyDeleteHugs Ingrid
Such a wonderful idea!!! Thank you so much for the inspiration! :)
ReplyDeletewhat a perfect card to present with a paperbag mini album its so thrilling i know i am going to make one of these real soon..i LOVE your idea..fantastic thank you for sharing and your tutorial hugs janet
ReplyDeleteSuch a great tutorial, using a paper bag! Love it!
ReplyDeleteWow hun this is just awesome
ReplyDeleteHugs jacqui x
super
ReplyDeleteWOW! Totally awesome, Jorunn! Love it!♥
ReplyDeleteHelt fantastik tutorial og nydelig resultat! *Ü*
Big hugs,
Aud
what a great tutorial, I may not use a bag but I think I will use the idea, thanks
ReplyDeleteAbsolutely stunning thanks for the tutorial.
ReplyDeleteChristine x
Totally out of this world..... Very clever & best out of waste too... I love that concept... Thanks a ton for sharing.... :)
ReplyDeleteAsh...
(http://hastkala-oceanichope.blogspot.com/)
I knew it was possible, but never done it..thanks for this clear tutorial...will make one soon!
ReplyDeletexxx Margreet
Fantastic!!! Thanks for this tutorial. I will make one soon!
ReplyDeleteHugs
Bernie
hi do love this bag by tanja
ReplyDeletegénial reste plus qu'à trouver la poche en papier!!!!
ReplyDeletebisous claudine
Lovely card...no one would guess there is a plain brown bag hiding under there!
ReplyDeleteVery clever. I can't wait to try it!
ReplyDeleteThanks
Wow, that's just wonderful! Thank you for sharing that.
ReplyDeleteReally pretty card. Gotta practice doing what you did. thanks for sharing. It's such a neat idea.
ReplyDeletethanks
bobbi
What a wonderful idea. Thank you for sharing it.
ReplyDeleteGod bless,
Susan
author of The Princess and the Pee
Love your paper bag card! Thanks for the tutorial!
ReplyDelete