


Today I will show you an easy way to make some variety to our cards.
It is still a 15 cm x 15 cm card base, but we add a z-shape to it, so part of the inside will show too.
It is easy and fun!
You need:

Just regular materials;
Cardstock 14,5 cm x 30 cm
Patterned papers 2 x 7 cm x 14 cm and 1 x 14 cm x 14 cm
Stamped images, and embellishments of your own taste
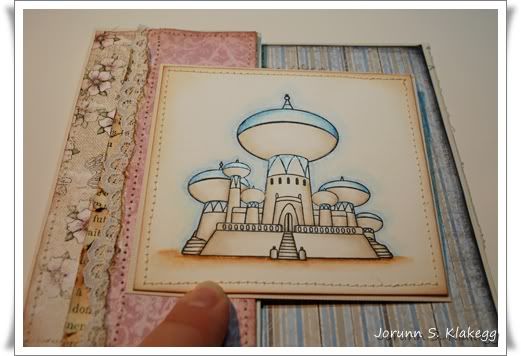
I have used images from Whiff of Joy's Stamp store kit:
Scheherazade (1001 Nights)
And colored them in with Copic Sketch markers.
***
Scheherazade (1001 Nights)
And colored them in with Copic Sketch markers.
***
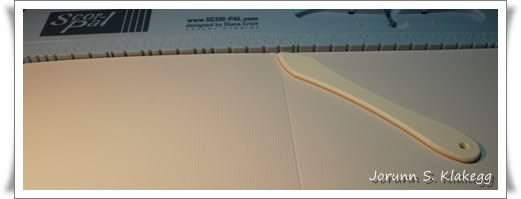
Start with scoring your card base at 15 cm, with the structure side facing up
Fold the card on the middle, making it a regular square card,
only the structure side is now inside the card base.
And fold half of the upperside back out...
so now half the front is showing and half the inside is showing,
when the card is folded...
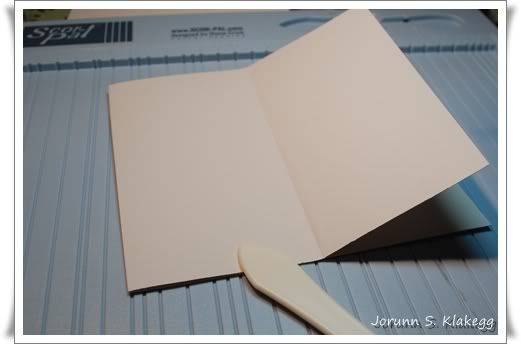
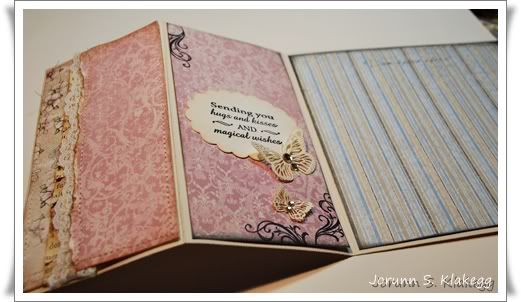
The card has now a z-shaped form
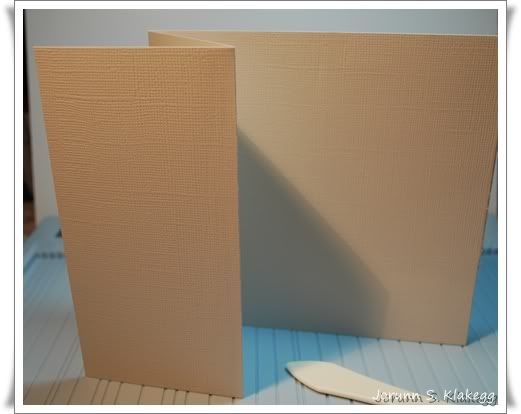
It is time to start decorate.
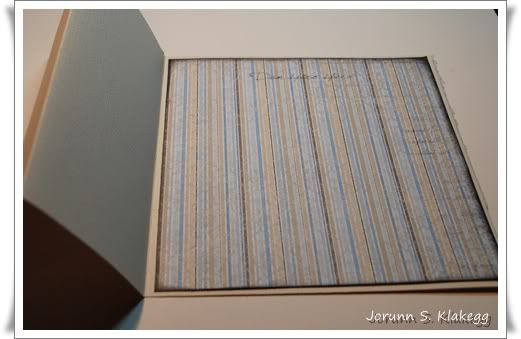
I always makes the pattern papers ready decorated before I glue them to the card base.
This time I have not much decoration on the inside pattern paper,
so I just glue this to the card base right away;
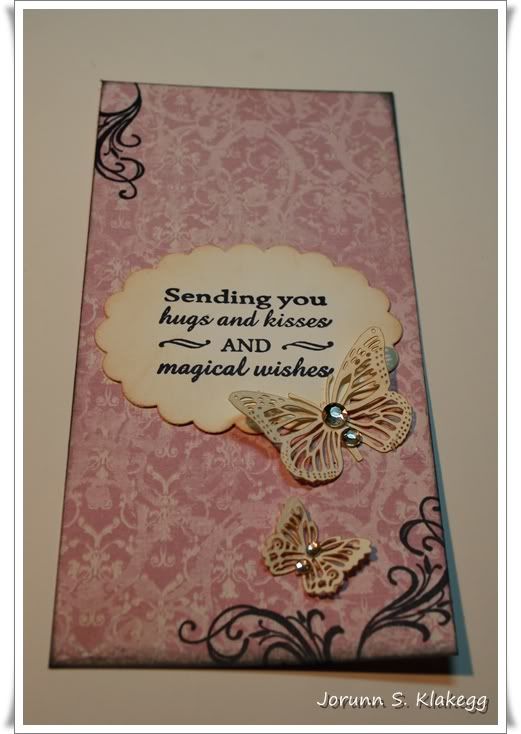
The front:
The base is 7 cm x 14 cm
And I have added some more papers and lace to it

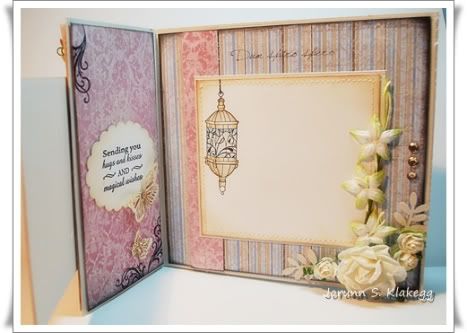
The other inside:
This can not hold to thick embellishments or the card will not close properly
Now glue the front and the inside on the card base too;
Add the inside panel, for the greeting to be written.
Make sure you put this so the front image will be able to hide it
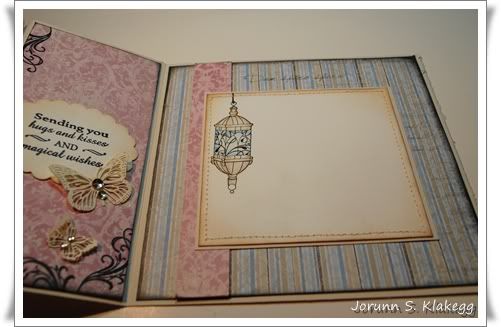
Close the card and adjust the front image, so it covers the inside image

Now I am ready to add some embellishments to the card!
I have added Willow in a bottle, and used roses and gemstones too.

The outside and inside share the same decoration on the right corner,
but when it opens some more decorations will show:
And in the back I have used an accessory stamp from Whiff if Joy's Aladin Kit
along with my signature;

I hope you liked my tutorial, have a wonderful day!
***


Wonderful idea, I think you're card is very nice.
ReplyDeleteThanks for showing.
Hugs Gabi
wow... looks fantastic.. thank you..
ReplyDeleteHugs, Katrin
Wows
ReplyDeletegorgeous tuto
love this one:))
thanks so much!!
hugs
sonja
Wooww beautiful :):):)
ReplyDeleteGreetz Thea
great tutorial...thanks..:D
ReplyDeleteWow, I really like this tutorial. I will save it to my favorites.
ReplyDeleteHugs Ingrid
this is gorgeous! thanks for the awesome tutorial!!
ReplyDeleteWooW Stunning card Jorunn!! And you describe the z-card so well. Love that you have used so many of the stamps on the card!
ReplyDeleteWarm hugs, Camilla.
This comment has been removed by a blog administrator.
ReplyDeleteGreat card, Jorunn! Thanks for the tutorial and I'll definitely be using this one!
ReplyDeleteDiane x
What a beautiful card!!!
ReplyDeleteThank you for the tutorial - love the way it folds.
Hugs, Candy
Great card, thank you, I will save the tutorial
ReplyDeleteI am going away for 11 weeks to Holland
Hugs harma
Precioso trabajo y tutorial, haré algo con tu idea. Besitos.
ReplyDeleteA beautiful card and thank you for the tutorial.
ReplyDeleteMy card here:
http://kaybehybrid.blogspot.com/2010/05/happy-birthday-karte.html
Big hugs,
Katrin
Thank you for this great tutorial.
ReplyDeletehere is my card:
http://narrenstempelei.blogspot.com/2010/05/hanglar-in-lila-schwarz.html
aouhhhhhhhhhhh superbe bravo md
ReplyDeleteThank you for the tutorial !!!
ReplyDeleteBeautiful tutorial Jorunn! I will be trying one of these soon! Love how you embellished the back of the card too! ~Tori
ReplyDeleteHallo,
ReplyDeleteBeautiful tutorial ! Like it !
Thanks !
Françoise (Belgium)
I love this card,such a great tutorial too! x
ReplyDeleteGreat card and great tutorial! Thanks alot for the inspiration!! Could you please tell me what is the butterfly punch/die you used to create this beautiful butterfly?
ReplyDeleteSuper tutorial. Love the colors and the cardstock patterns. Just gorgeous. Thank you for sharing with us.
ReplyDeleteNaush
I think that your card is very nice...i wish to save it to my favorite.Order Business Cards.
ReplyDelete