


Hello everyone and happy monday! Today I´m going to give you a quick tip on how to always have matching ribbons on your projects. I have used Promarkers on this tutorial but Copics and other similar colouring mediums will do just as nicely. So you´ll need your pens and some white ribbon to get started.

Firstly you need to colour your image. On the picture above I have lined up all the colours I have used to colour my image that is from the May Store Stamp Kit - Aladin (1001 Nights). The next step is to choose one (or two if you are having a hard time choosing) colours that you are going to use to colour you ribbon.

I wanted to try out two colours, the lighter blue and the darkest shade of pink I had used. I usually use an accent colour on my ribbon (the pink one in this case) but as there is so little of it in the image (only on the bangles and gems) it might not work. It´s good to try though as you can always use your ribbon on another card or project, especially if you usually tend to colour with the same colours over and over again as I do LOL.
My ribbons from the top down are:
satin ribbon
organza ribbon
cotton lace
and some satin again

And here they are coloured. I used the chisel side of my pens and especially on the lace it´s best to colour on a dabbing motion. Now all you need to do is to start putting your card together. I tried the different ribbons on my card and chose to use the light blue satin one.

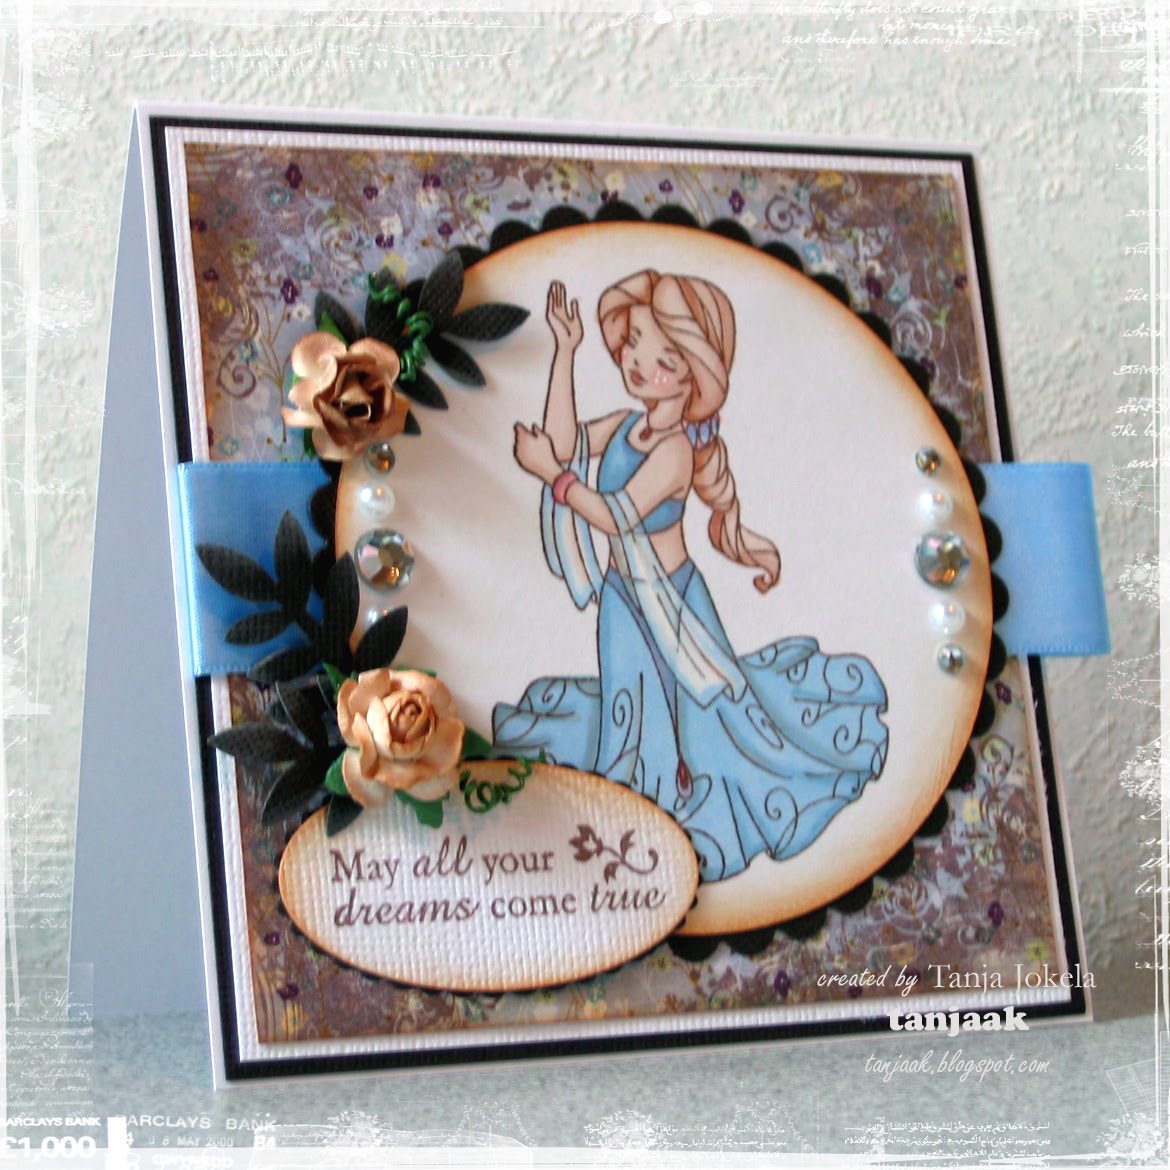
So here´s my final card. Thanks for looking and have a great day!
xxxTanja


Hi Tanja
ReplyDeleteDid not know you could do that...genius. As usual the Wiff of Joy tutorials are brilliant, keep 'em coming girls. Love it. Debbiexx
Fab wouldnt even have thought of colouring the ribbon,DOH, i would have been out round the shops looking for a match,
ReplyDeleteThanks
Christine x
Thanks for the tut. I did'nt know you could to that. Kathleen x
ReplyDeleteit's wonderful!!!! congrats for your wonderful cards! I'm speakless!
ReplyDeleteWow, I'm impressed at how saturated the ribbon actually looks from the marker. Thanks for sharing this tip. Very useful and economical tidbit.
ReplyDeletefantastic tutorial and i also colour my white flowers the same way too..jan
ReplyDeleteFabuloso tutprial, Tanja, a veces no sabemos que cinta poner porque no encontramos el color adecuado, gracias.
ReplyDeleteBss