 Hello, everyone! Hope everyone had a wonderful holiday season! It's hard to believe a new year is almost upon us. I thought I would share a mini tutorial today showing the steps I went through to color this adorable little Henry Mouse hugging heart image that I used on my card today.
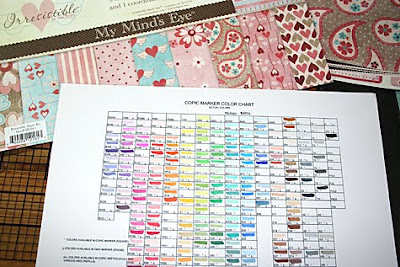 The first thing that I always do when coloring my images is to get out copic marker chart. (It's a blank chart that I printed and filled in with the copic marker colors that I own. I can't remember where I downloaded my particular chart, but you can print a very similar one here.) I use the chart to choose copic markers that coordinate with the patterned papers and colors I have chosen for my card. I am using some patterned papers from the Irresistible line by My Mind's Eye.
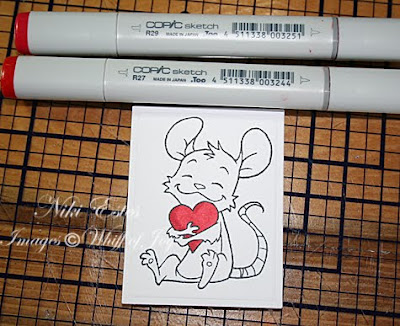 First, I colored the heart in using R27. Then, I added a little shading using R29.
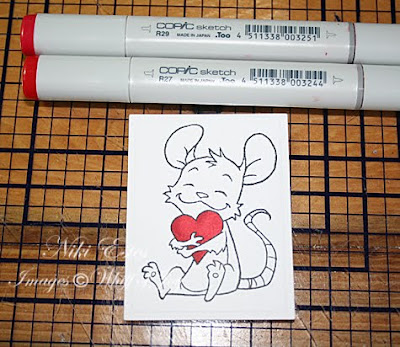 Then, I blended the two colors by going over the heart again with the R27. Since these two colors are very close in hue, I went back over my shading a little more with the R29 also to darken the shading.
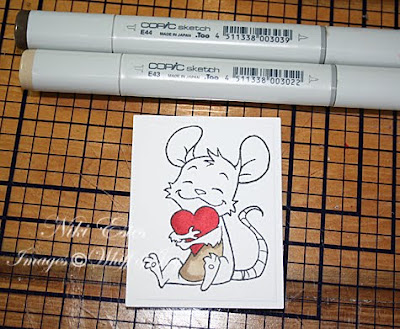 Next, I colored in Henry's tummy using E43 and shaded with E44.
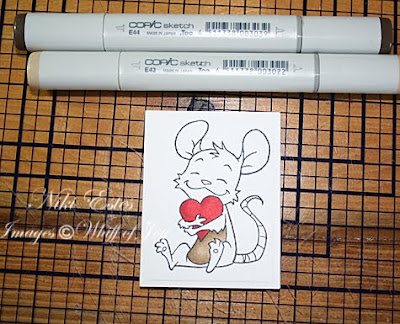 I blended again with my lighter copic marker, E43. Again, these two markers are close in color so I added a little extra shading with the E44.
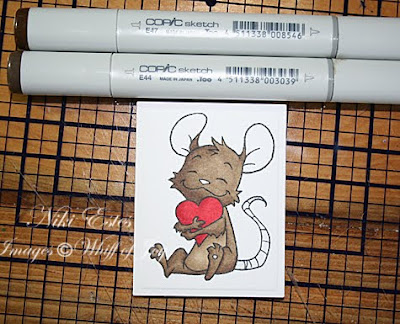 Then, I used the same steps (color entire area with light color, shade with darker color, and blend with light color) to color Henry's body using E44 and E47.
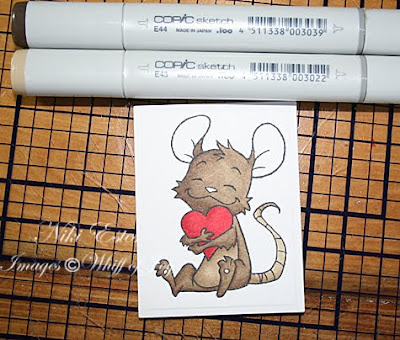 I colored Henry's tail using E43 and E44.
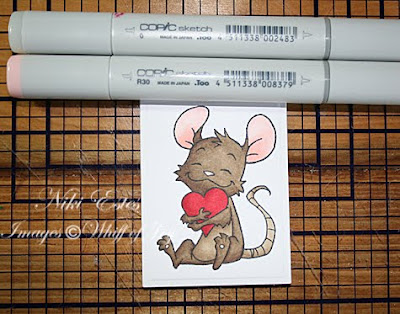 For Henry's ears, I colored the area with R30. Then, instead of using a darker marker to shade, I lightened the area using a blending pen. Blending pens don't actually blend the colors. Instead, they move the color around. So, I used the blending pen to lighten the tips of the ears and move the color down to the interior of the ear. Then, I used the R30 to add some more shading to the interior part of the ear.
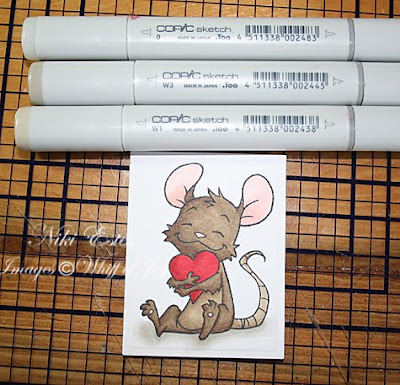 Next, I added some shadows under Henry to help ground my image. I used W1, W3, and a blending pen. I started by adding some shadows with W1. Then, I added a darker area very close to my image using W3 and blended with W1. I went over the area with my blending pen to lighten it and push the color in close to my image.
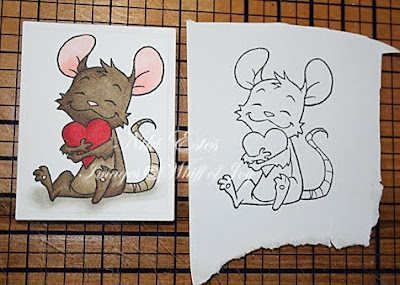 For the next step, I needed a mask for my image. So, I stamped the image on some eclipse tape (a slightly tacky paper tape). You can also use a sticky note for this step.
 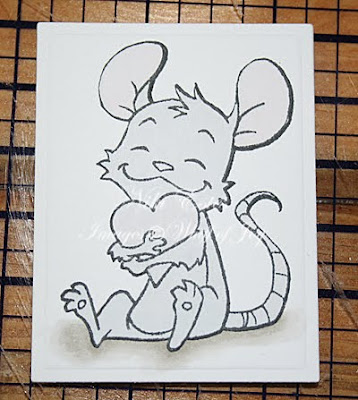 I cut the mask out using scissors and adhered it over my colored image.
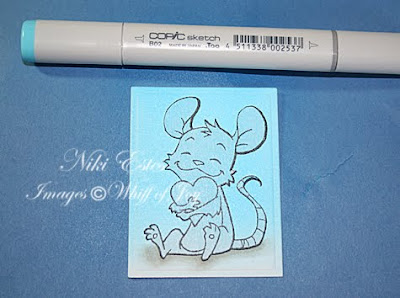 Then, I used a B02 marker and my air compressor to spray the image a blue shade that coordinates with my patterned paper. You could also sponge ink around your image.
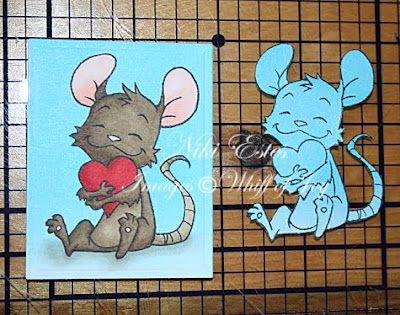 When I was done, I removed the mask and my image is done. I save my masks so that I can use them again.
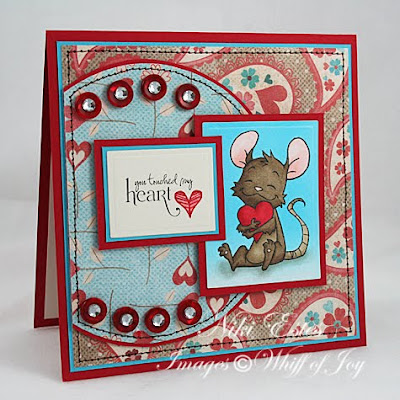 And here is my completed card. I added some rhinestones to the center of some buttons and lots of stitching on my patterned paper layers. I hope you enjoyed my mini copic coloring tutorial.
 Have a great day!
Niki
Edited to answer some questions: You can see what the copic air compressor looks like here. You can download a blank chart to fill in with your copic colors here. I personally use Papertrey Ink's white cardstock for all of my copic colored images.


Fabulous tutorial Niki! I think I need the air compressor....love that background!
ReplyDeleteThe air compressor is wonderful! It made quick work out of coloring the background! Thanks for sharing!
ReplyDeleteThank you a lot!!
ReplyDeletethanks for the wonderful tutorial! love the even and fast covering the air compressor gives! Thanks for sharing and i love your gorgeous card!
ReplyDeletemany thanks for your clear tutorial!
ReplyDeletexxx Margreet
Thank you !
ReplyDeleteWow this was so amazing. Thanks for sharing your talents.
ReplyDeleteKylie xo
great tutorial. thank you
ReplyDeleteLove Sarah XXX
Such a fab tutorial. Thanks so much!
ReplyDeleteGreat Tutorial! TFS! What paper do you use with your Copic Markers?
ReplyDeletexoxo,
Lori
Thanks the tutorial! I am just getting started with Copics and can use all the help I can get.
ReplyDeletethis is cute what does the spayer look like
ReplyDeleteSuper tutorial!! Absolutely adorable card too! I just love all the little details TFS :o)
ReplyDeleteI've often wondered at your technique with Copics, and now, mystery solved! Thanks for showing us, Nikki. It looks great and is easy to follow. I love how your mouse turned out!
ReplyDeleteYour card is so gorgeous, I love the stitching. And its neat how the shading on the ground under him was not hidden by the blue you air brushed overtop, but was actually enhanced. So cool!!
OOps, type-o... Niki, not Nikki!! Sorry hun!! xo
ReplyDeleteThanks so much for the mini tute! Lovethe little mouse
ReplyDeleteWhat a wonderful card, super! And thank u=you for the turorial!
ReplyDeleteHugs Jacqueline
An adorable card and a neat tutorial! Thank you!
ReplyDeleteDie Karte und die coloration gefallen mir super gut! Danke!
ReplyDeleteGLG Moni
Wow I wish I could draw, get write up !
ReplyDeleteAwesome card AND tutorial!!
ReplyDeleteThank you - Happy New Year, Candy
Thanks so much for the fabulous tutorial! your card is sooo cute!!
ReplyDeletehugs,
Rachel
Thanks for sharing. This is really helpful.
ReplyDeletexx Yvonne
what a nice tutorial, thanks a lot!
ReplyDeleteI'm definitely going to folow your blog ;-)
Greetings,
Lins
wwwoooowww fantassssssssstic¡¡¡¡¡¡ thank you¡¡¡¡¡¡¡¡
ReplyDelete