


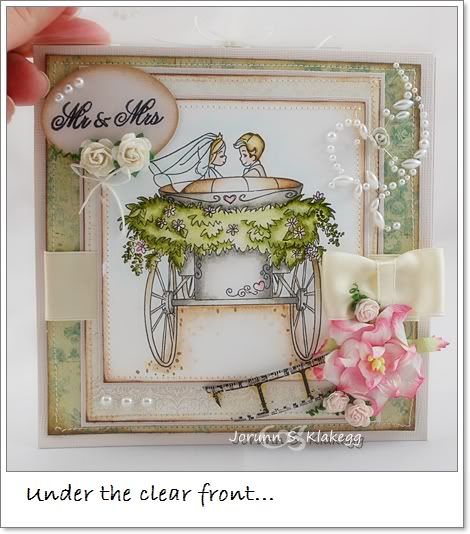
Today I will make a card with clear front, as these cards are a little elegant I wanted to make
it a wedding card...
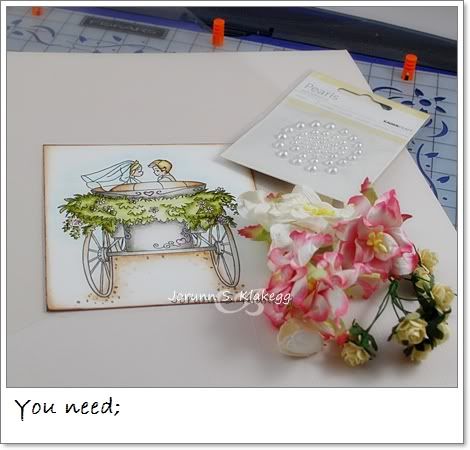
*Card stock
*Transparent plastic cover
* Pattern papers
*Image - I have used "wedding carriage"
*Text stamps - I have used "Wedding wishes"
*Embellishments of your own choice
*Transparent plastic cover
* Pattern papers
*Image - I have used "wedding carriage"
*Text stamps - I have used "Wedding wishes"
*Embellishments of your own choice
Start with cutting the card stock into the size of the card you are making,
I have used 15 cm x 15 cm (6" x 6").
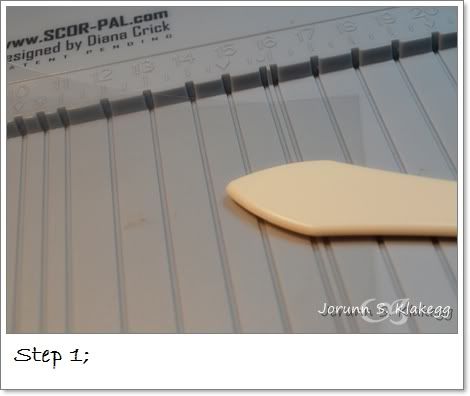
Now, cut the transparent plastic cover to fit the card, and add 2 cm at the top...
15 cm x 17 cm.
Score and fold at 15 cm on the top on the plastic cover....
leaving a square part of 15 cm x 15cm, and a folded part of 2 cm x 15 cm.

Place the transparent paper on the card stock like this, and glue it
on to the card stock
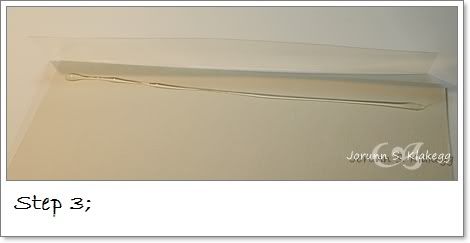
Also... glue both the sides on the card stock together after gluing the
plastic cover on.
You now have a pocket on top of the card and a clear front.
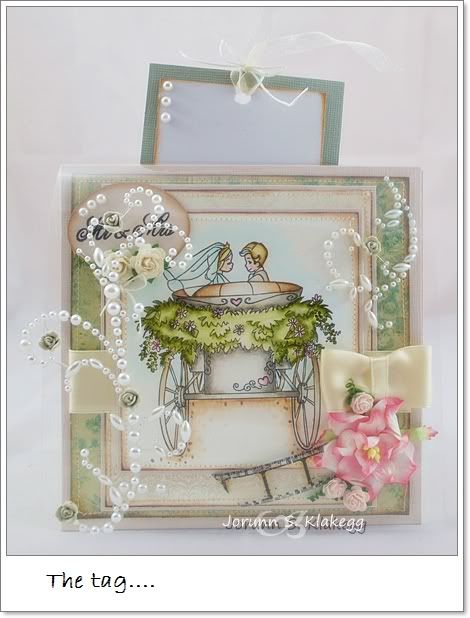
Make a tag to fit into this pocket on top of the card....
Let's start to decorate....
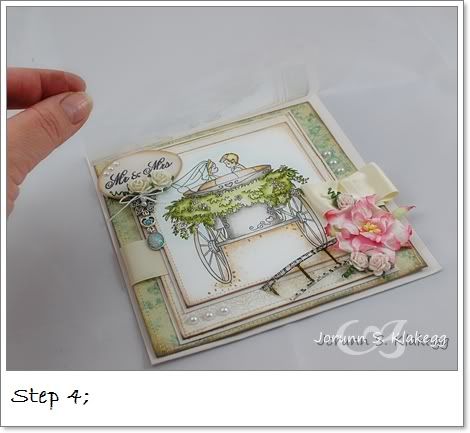
I have decorated a base of pattern papers - 14 cm x 14 cm,
and now glue it on the card stock underneath the clear front...
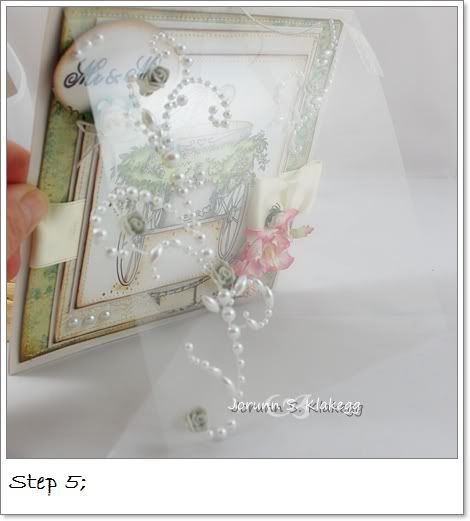
Now it is time to decorate the transparent plastic paper a bit too... to make it show a little....
I have used a pearl swirl on my card....
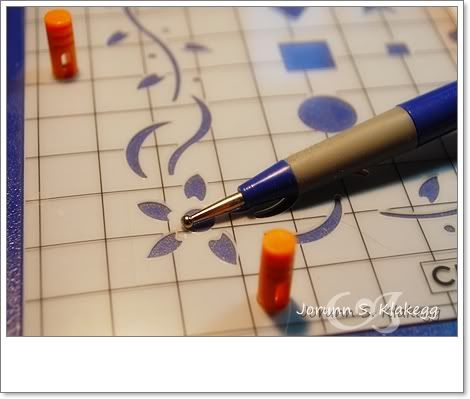
Another tip is to use dry embossing on the plastic sheet too....
And now we are all done.....
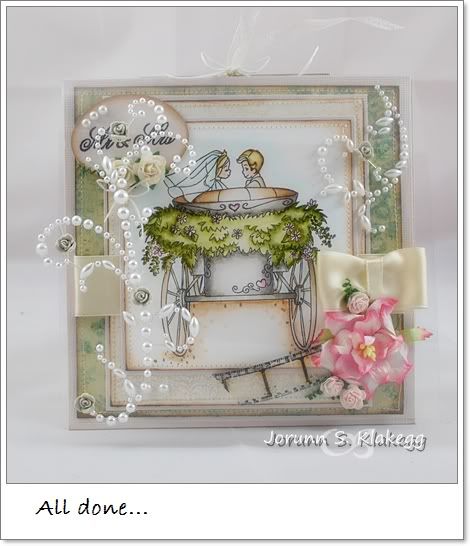
I hope you liked my card with clear front, and please let me know if you try this,
I would love to see your take on cards with clear front.
Have a nice day, and thank you for stopping by today!


Jorunn,
ReplyDeleteDette kortet var nydelig !
I love it ♥
-Helle-
Hi Jorunn,
ReplyDeleteOMG this is gorgeous, so beatiful with the clear
front decorated just stunnig:))
I was looking for some inspiration for a wedding!
Thanks for your tutorial.
Hugs
Sonja
Wouhhhhhhh!!! C'est absolument magnifique! Bises. Nadine
ReplyDeleteFantastisk nydelig kort :-)
ReplyDeleteMaravilloso trabajo y como siempre con tu gran creatividad, fantástico, enhorabuena. Besitos.
ReplyDeleteSTUNNING!!!!!!!!!
ReplyDeletehugs
TOO Gorgeous!!!! xx
ReplyDeleteWoah! Beautiful!
ReplyDeleteSo beautiful!!!! Your tutorial was easy to follow and understand....thank you so much....
ReplyDeleteSomptueux
ReplyDeletebravo md
wauw what a great card have you made
ReplyDeleteVirkelig nydelig!!
ReplyDeleteKlem,
Hanne
Absolutely stunning, Jorunn - really beautiful x
ReplyDeleteAbsolutely fabulous!! Must try that once ... my want-to-try-list is going to be very, very long ;)
ReplyDeleteThank you for sharing this Jorunn.
Hugs Yolanda
Hi !!! this card is SO BEAUTIFUL !!!!
ReplyDeleteI am a begginer so I have a question : What kind of glue do you use ???
Thanks a lot !!!
Congratulations
thank you it's stunning!!
ReplyDelete@La Miscelanea;
ReplyDeleteI use only hot glue gun on all my cards, on both papers and embellishments!!
@all:
Thank you all for your kind words.
hugs,
Jorunn
What a beautiful card!! Thanks for sharing!
ReplyDeleteHere's my card:
http://oliwiaen.blogspot.com/2010/10/kartka-z-przezroczystym-frontem-clear.html
hugs
Maja
I love it!It's a pretty wedding card.
ReplyDelete