Hello everyone! Ann here with another tutorial for you on how to use the most out of your
Whiff of Joy stamps! If you're like me, you have more than a few un-inked stamps that you just haven't had time to use because there's too little time in the day.
All Whiff of Joy stamps need a little love and I'm here today to show you how to use up all those yet-to-be-inked stamps!
The
first trick is to
merge images by
masking. Here's my technique on merging images, especially if I want to merge them a specific way. In this case, I've used the two new Henry stamps from the latest summer release:
Beach Henry with Cocktail and
Lazy Summer Henry.
I wanted it to look like they were toasting their glasses and this is how you can go about doing that:
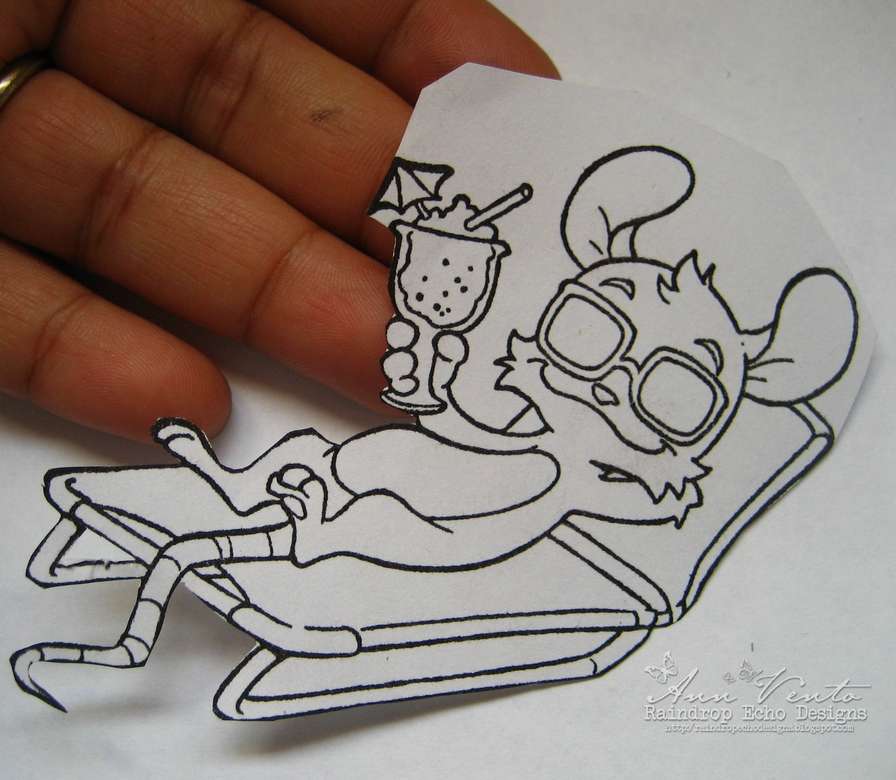
1. Stamp the image that is supposed to be in the
foreground on normal paper, not on stamping paper. You don't want to waste your good paper for masking :) This is the image that will look like it's closer to you, therefore, it should look like it's "on top of" the other image. Cut out the image. You don't necessarily have to cut out the entire image if only part of the image is going to look like it's on top of the other image.
2. Stamp the same image, the one that's going to be in the foreground, on my stamping paper. In this case, it's my watercolor paper because I'm going to use distress inks to color these images.
3. Cover the image that you stamped on your stamping paper (from Step 2) with the image that you first cut out and stamped from Step 1. If necessary, place some tape underneath the cut out image to hold it in place.
So that you can see exactly where you are stamping, stamp the image that you want to go in the
background on normal paper. Cut out part of the image so that you can line up your stamped image on top of your acrylic block. I wanted to perfectly line up the two drinking classes so it looks like they were toasting. If you do this, you can clearly see where stamped image is going to go.
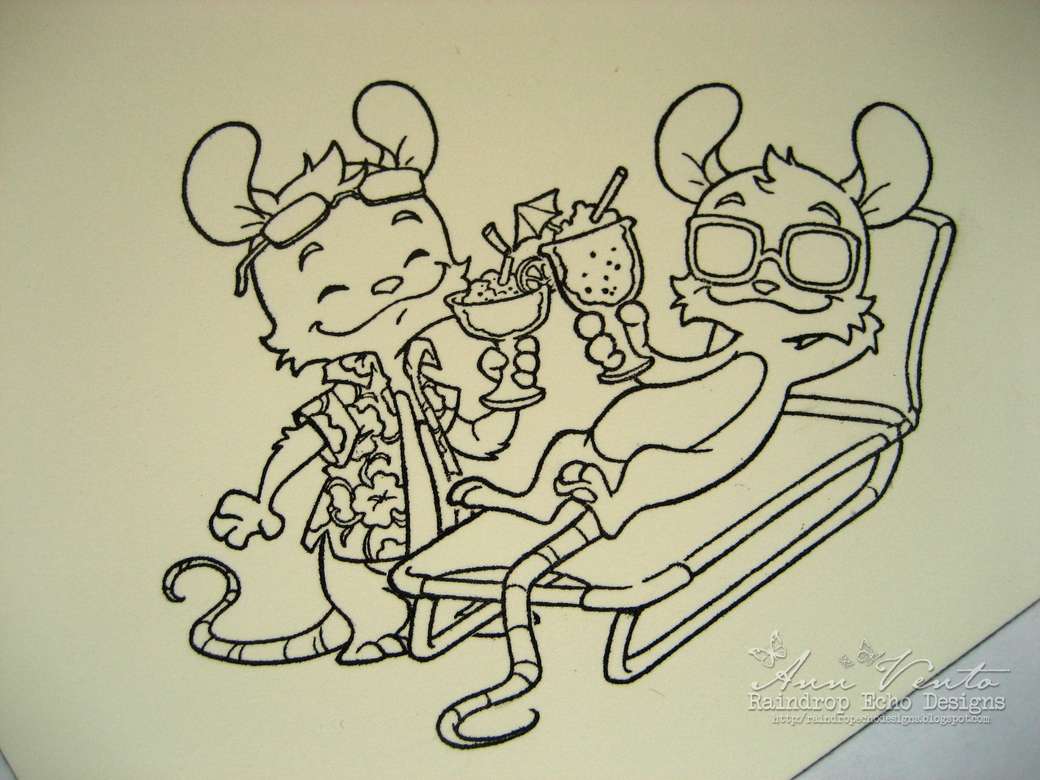
4. This what what it looks like after you have stamped your second image on your stamping paper.
5. Carefully remove the cut image from the stamping paper and there you go, merged images!
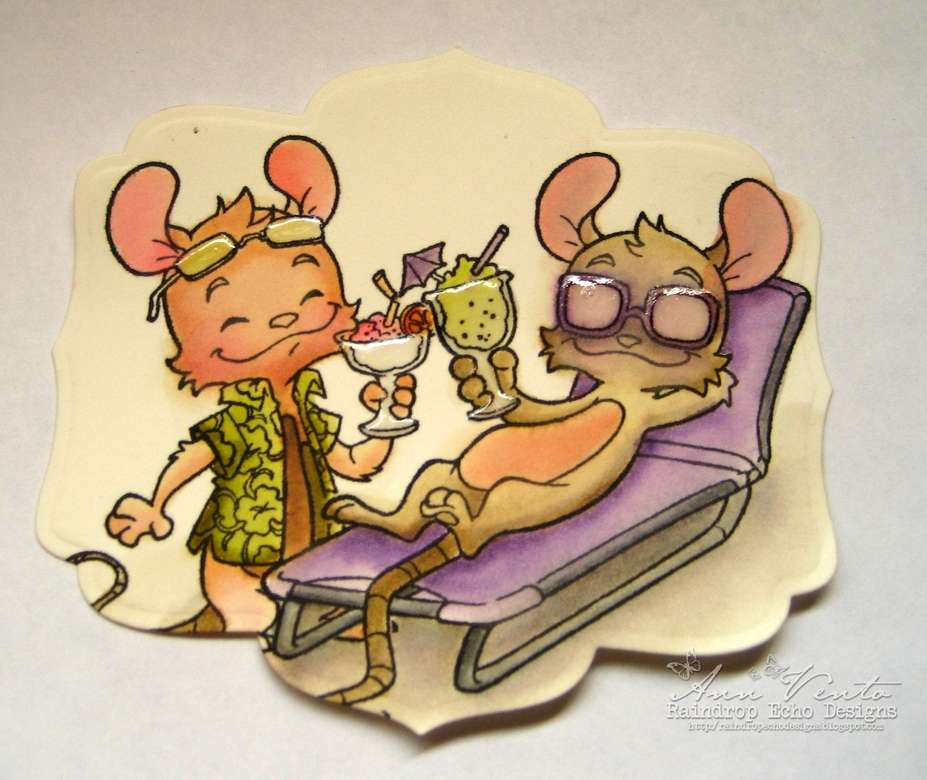
6. Color as necessary. I've used Diamond Glaze on their cocktail glasses and eyeglasses. Here's my finished colored image and card:
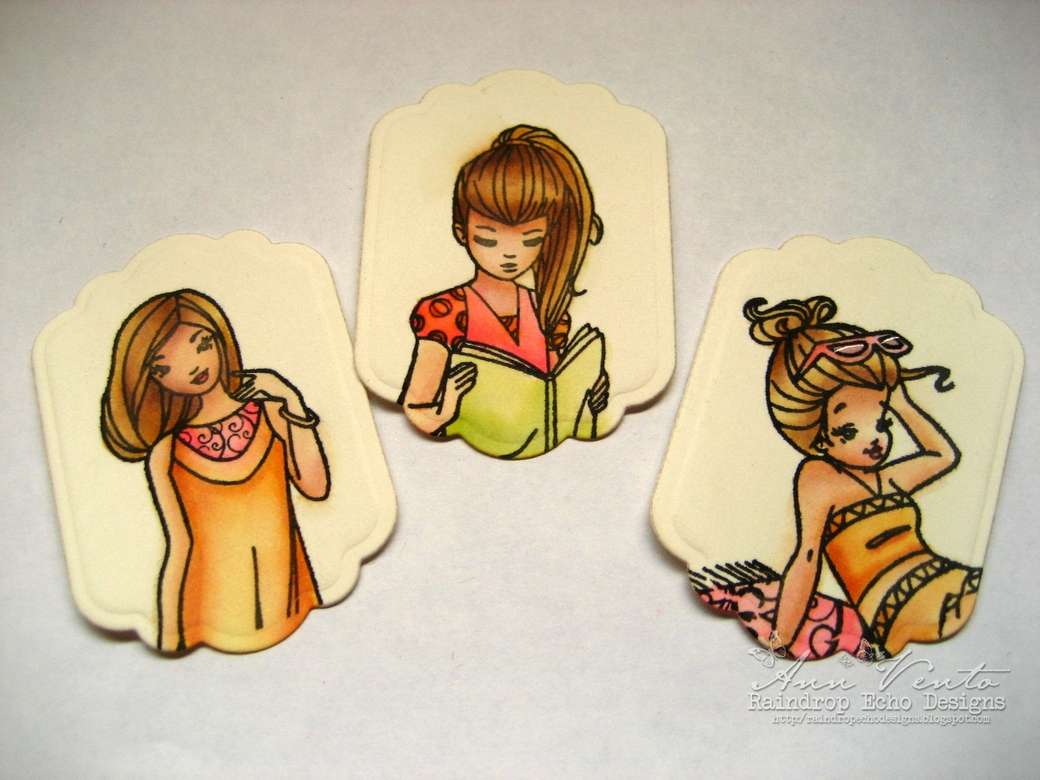
The second trick to using multiple images is to not use the entire image. Here's one tip on using multiple images separately in one card. I've used two images from the
Life's a Beach July Store Kit and one image from the
Fun in the Sun June Store Kit. Willow looks gorgeous in all of these!
I love using "partial" images and using them in "frames." I've also used this trick on my Happy Thoughts for Henry card
here as well as in the card I'm about to show you!
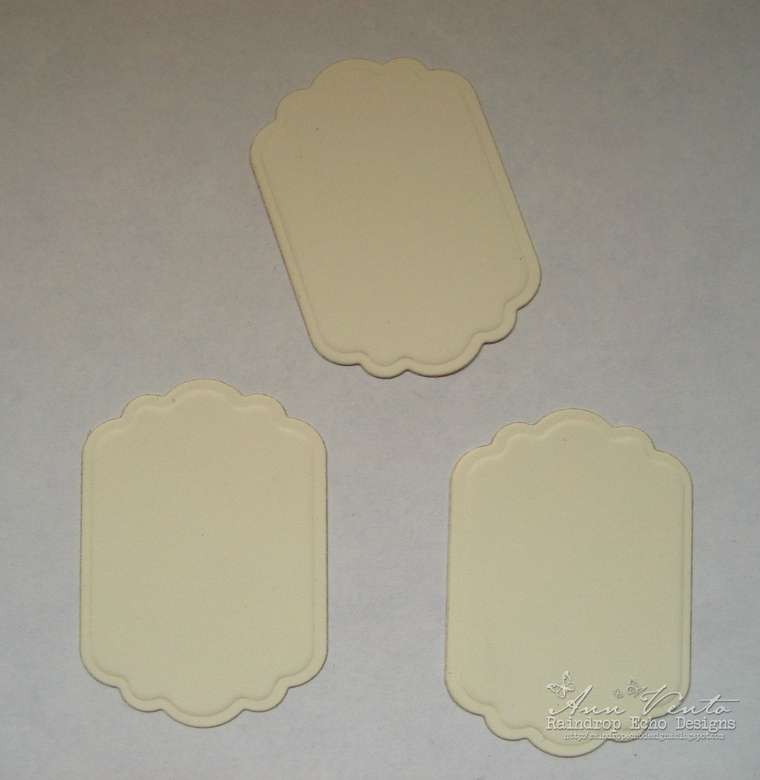
1. I start off with using some Nestabilities to create die cut shapes that I will stamp my images on. They should be good sized frames that will fit a good portion of your images and also fit on a card.
2. Then, I ink up my stamps and stamp them on the frames. To save on ink, you don't need to ink up your entire image - just ink up what you need for the frame.
3. Color your images, preferably to match your papers :)
4. And that's really it! Arrange your images to fit on your card. Though it seems like three separate images would take up a lot of space, if you arrange them correctly they will fit and also create a great effect on the card. Here's my finished card:
Thank you for joining me today! I hope that you got some tips on how to use those un-inked Whiff of Joy stamps!


Ann this is a fantastic tute, I never thought of merging two tamps together, will definitely be giving that technique a go. Thanks
ReplyDeleteMel B
What a beautiful tutorial. Thanks.
ReplyDeleteHugs, Nataliya.
Very nice tutorial, thanks. I love your second card.
ReplyDeleteWow this is absolutly amazing
ReplyDeletelove the way you put your card together
And the collours are so pritty.
Hugs Sonja
What a fabulous tutorial! Thanks for the inspiration!
ReplyDeletesuper sympa merci pour toutes ces tutos
ReplyDeletebiz claudine
what a fab tutorial, you have explained a complicated technique well and I may have to try this.
ReplyDeleteThank you for sharing
This is so great!
ReplyDeleteThanks for the idea :)
Hugs Anneke
Ann this is a lovely tutorial, thank you. lol J0 xx
ReplyDeleteWOW!! Brilliant cards!! Thanks for the inspiration!! =)
ReplyDeleteHugs, SannaS
What a TERRIFIC tutorial !!! Now I'm going to go try that ... Thanks, Janie
ReplyDeleteFantastic tutorial! I have never tried this before! Thanks!
ReplyDeleteAwesome....I love this and can't wait to try it....thank you so much....
ReplyDeleteWOW Ann, the tutorial with first card is gorgeous.
ReplyDeleteThis is absolutly amazing, thanks for the inspiration!
ReplyDeletehugs.x
Lila
Great tutorial, Ann!! I will definitely try this. Pretty colours, lovely cards. You are an inspiration.
ReplyDeleteHugs Yolanda
what a lovely idea
ReplyDeletethanks for showing
Wonderful!!!
ReplyDelete