Hi everyone and Happy Valentine's Day!! Today I would like to share with you how I made my Valentine Gift tag.
Supplies -
- Chipboard Tag {mine is 4. 75" x 3"}
- White Acrylic Paint
- Rock Candy Crackle Paint
- Distress Ink
- Patterned Paper
- Lace, ribbon, trims
- Embellishments
1. Paint the tag using babywipes and white acrylic paint. Using babywipes gives it a distressed look. You can use a heat gun to gently dry the paint if you don't have time to wait for it to dry naturally.
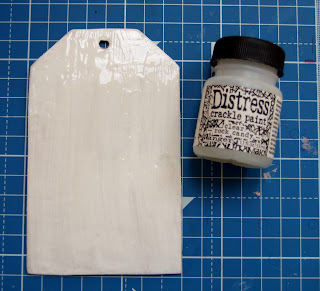
2. Add 'Rock Candy' crackle paint. This too can be dried gently with a heat gun but it doesn't 'crack' as much if you do it this way.
Once your cracklepaint has dried rub over the outsides with distress ink, ensuring it goes into the cracks. Wipe off with a tissue.
Add your patterned paper, with the edges inked
Colour your image and trim it out. I used the super cute HenryMouse Hugging Heart.
Start to layer up your lace/ribbon/trim and once you are happy with them add your image, mounted on 3D pop dots.
Embellish as desired
These are so fun to make and can be added to a gift bag or tied around the top of a bottle, or even just given on it's own.
I hope you like my this tutorial and thanks for dropping by.
Sandie
xXx


Beautiful Tag;
ReplyDeleteChris x
So cute!
ReplyDeleteWhat a pretty tag! Hugs Nina
ReplyDeleteOh so sweet, Thank you so much.
ReplyDeleteHugs
Marushy
That is so cute! Love the flower ribbon and additional flowers next to darling Henry.
ReplyDeleteHugs and smiles
thanks for the tutorial!!!!
ReplyDeletewoooow verry nice.
ReplyDeletehave a happy valentino.
hugs
Angelique
Oh Sandie, It's gorgeous. I am going to try this for a gift (will not do Valentine now!) But it will be perfect for a Birthday pressy. Thank you so much Debbiexx
ReplyDeleteSuch a lovely tag!
ReplyDeletewow how lovely!
ReplyDeletethanks for the tutoral
Cute, cute, cute.
ReplyDelete